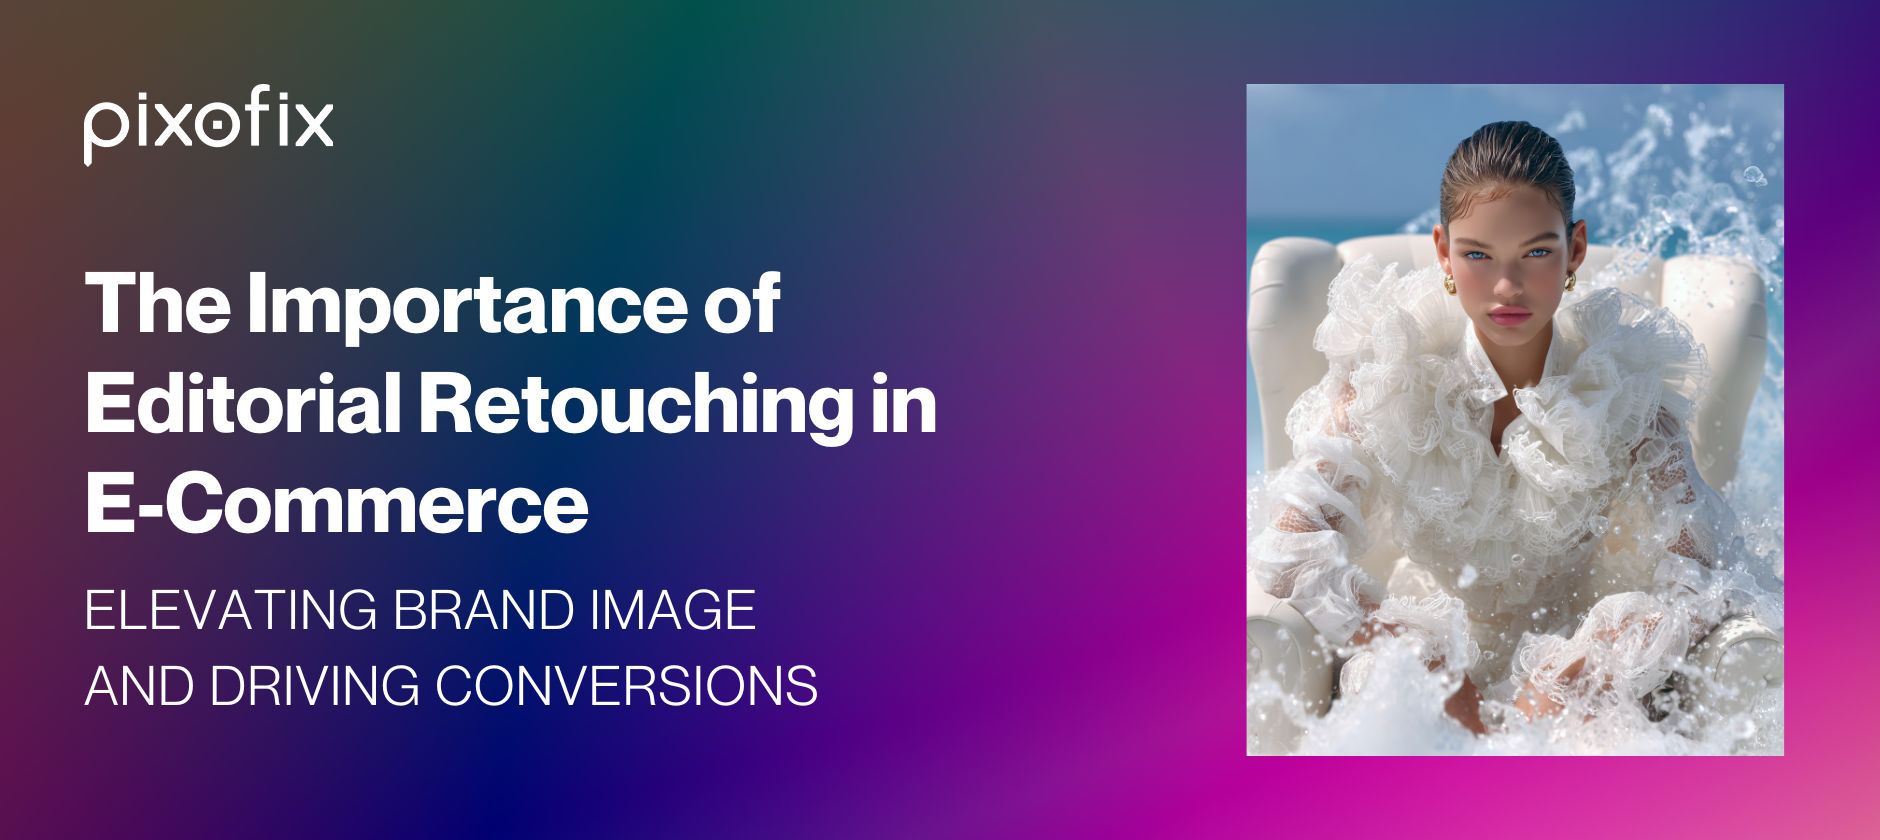
The Importance of Editorial Retouching in E-Commerce
Enhancing Brand Image and Aesthetic
Editorial retouching isn't just about polishing pixels. It's about reinforcing a brand's identity with every image. Shoppers connect with brands visually first — before they read a product description, before they compare prices. The look and feel of your product imagery shapes their gut reaction.
A clean, editorial-style edit brings cohesion across channels. Whether you're on a product page, home banner, or Instagram carousel, your images should carry the same mood. Same lighting energy, same polish, same level of detail. That’s where expert retouching shifts from a cosmetic step to a brand strategy move.
Teams like Pixofix understand this nuance. They're not just erasing imperfections. They're lifting visual assets to fit the tone your brand promises, frame by frame.
Driving Sales Through Visual Appeal
Good editorial retouching doesn't make an image fake. It amplifies what's already there — the texture of a fabric, the depth in skin tones, the richness of color that makes someone stop scrolling.
In ecommerce, that pause is everything. Sharp, editorial-quality visuals translate to longer dwell time, lower bounce rates, and stronger add-to-cart behavior. When a shopper sees detail, realism, and quality in an image, they assume it about the product too.
This is where retouching becomes a conversion tool. Align your visuals with shopper expectations and your bounce rate drops. Align them with your brand promise and your repeat rate climbs.
What Is Editorial Retouching?
Differentiating Between Editing and Retouching
Editing and retouching aren’t interchangeable. Editing is structural: cropping, straightening, adjusting exposure. It's cleaning the frame. Retouching is intentional refinement. It’s where artistry and storytelling come in.
Editorial retouching zooms in. It pays attention to the direction of shadows, the texture of skin, creases in fabric, and how light plays across the surface. Unlike batch editing, which often relies on presets or filters, editorial retouching is detail-driven. Each image gets its own attention. That’s what gives it that “magazine cover” polish.
Key Techniques Used in Editorial Retouching
- Skin Retouching: Keeping texture human while minimizing distractions like redness or blemishes.
- Dodge and Burn: Refining highlights and shadows to sculpt the image’s depth.
- Frequency Separation: Separating texture from color for natural toning, often used in fashion and beauty work.
- Color Grading: Shaping the mood through tones, hues, and saturation.
- Background Cleanup: Removing distractions or digital noise without flattening the image.
These techniques don't just correct. They elevate. And when combined with taste, they support the visual story a brand is telling.
Essential Steps in the Editorial Retouching Workflow
Pre-Editing: Organizing and Selecting Assets
Before the first blemish is removed or color adjusted, the curation matters. Selecting the right assets is half the battle — a sharp frame, strong pose, clean composition. This is where retouchers work alongside creative directors or photo editors to choose images with the most storytelling potential.
This stage often includes labeling, asset versioning, and prep for non-destructive workflows. For ecommerce teams working at scale, Pixofix helps integrate this step into the pipeline so files move seamlessly from shoot to edit.
Step 1: Skin Retouching Techniques
The goal: perfect skin without losing its soul. Editorial skin work means toning down shadows, softening texture inconsistencies, and calming blotchiness — all without turning the model into plastic.
This often involves frequency separation or micro dodge-and-burn. High-end retouching avoids blurs and softening filters. Real skin has pores. It moves with light. Good retouching just makes sure those things feel intentional, not distracting.
Step 2: Color and Lighting Adjustments
Editorial images lean on color tone to create mood and emotion. Color work here isn’t just about warmth or coolness — it’s about aligning hues with brand feel. Think a muted, earthy palette for a clean-skin beauty line. Or saturated tones for a bold streetwear drop.
Lighting adjustments clarify the shot. Shadows guide the eye. Highlights define shape. Together, they focus attention and eliminate visual noise.
Tools like Capture One or Lightroom are often used at this stage, but seasoned pros may bring the image into Photoshop for refined masking and smart object adjustments.
Step 3: Background and Composition Refinement
Even minimal backdrops need work. Dust on a seamless, creases in the paper, stray hair across a shoulder — they all pull attention from the product.
Editorial retouching tackles this next. It could mean cleaning up floor shadows, extending a background, or blurring elements to direct focus. Composition tweaks happen here too. A centered subject might shift slightly in frame to better align with grid layouts used on-site or in lookbooks.
Step 4: Final Touches and Review
This is the sanity check. Zoom out. Does the image feel cohesive? Is it balanced with others in the campaign set? Do the tones align brand-wise?
Final touches may include soft color harmonizing or sharpening to prep for multi-platform delivery. Right here is where Pixofix often inserts a quality pass — ensuring every exported frame feels purpose-built, not batch-processed.
Tools and Software for Efficient Retouching
Popular Software for Professional Retouching
Photoshop reigns supreme for editorial-level control. It allows for layered, non-destructive workflows and pixel-level retouching. Capture One is often used for its advanced RAW handling and color controls. Lightroom, while more popular in general photography, has value for quick adjustments and presets.
However, high-end editorial retouching rarely ends inside a single tool. Professionals bounce between applications to get precise results and keep quality intact across formats.
Utilizing AI in Editorial Retouching
AI isn’t replacing retouchers. It’s helping them move faster.
Tools like Adobe’s AI-powered Generative Fill or Luminar Neo’s AI masking can speed up repetitive tasks. Removing stray hairs, isolating a background, or previewing light shifts — all now faster and more intuitive.
Pixofix blends AI into their workflow, building speed without compromising control. They use automation where it helps, then pass the image to human creatives for finesse and final tone work. That hybrid approach is why they're a fit for ecommerce brands scaling product releases fast.
Plugins and Extensions to Enhance Workflow
Retouchers often layer in plugins to avoid bottlenecks. Retouch4me, Infinite Color Panel, and Portraiture are tailored for skin work and grading. Adobe extensions like TK Actions streamline luminosity masking and contrast corrections.
Used right, these tools can cut hours from manual workflows. The key is customizing them to your creative direction — not relying on “one-look” presets. That’s why pros build toolkits, not templates.
Creating Before-and-After Comparisons
The Power of Visual Proof
Before-and-after visuals aren’t just about showing transformation. They’re about trust. They pull back the curtain and show the craft behind the polish. When ecommerce brands share these comparisons in case studies or social content, they validate three things: transparency, attention to detail, and commitment to quality.
Customers don’t need to see every pixel tweak. But when they see clean, clear side-by-sides, they understand the kind of care and intentionality behind the final product.
Editorial retouching, done right, doesn’t make an image flawless. It makes it resonate.
Techniques for Effective Comparison Presentations
Avoid cluttered layouts. Place images side by side, cropped identically, with matching scales and lighting for an honest read.
Use a slider format (horizontal before vs after) if you’re presenting on web or interactive platforms. For static formats like PDFs or social posts, focus on subtle areas: texture cleanup, color shifts, tonal refinements.
Highlight what changed, but don’t shout it. Let the viewer feel the difference. That subtlety is what makes editorial retouching different. It doesn't demand attention — it earns it.## Common Pitfalls to Avoid in Editorial Retouching
Over-Retouching: Maintaining Authenticity
Polish is good. Plastic isn’t. One of the fastest ways to undercut a brand’s credibility is to take editorial retouching too far. Skin that looks painted. Fabrics that lose texture. Backgrounds so smooth they feel artificial. These are visual trust-breakers.
In ecommerce, authenticity sells. Shoppers want to imagine themselves in the clothes, holding the product, living the lifestyle. Over-retouched images break that illusion. The key is refining, not rewriting. Great editorial retouching preserves imperfections that feel human — the subtle crease of linen, a natural skin pore, the way light bends on jewelry.
Always inspect at 100%, then again at normal viewing size. What looks flawless zoomed in might feel uncanny in context.
Ignoring Brand Consistency
Every brand has a visual fingerprint: tone, color palette, contrast levels, even how shadows fall. Ignoring this thread across images creates a jarring customer experience — especially in ecommerce where product tiles live side by side.
In editorial retouching, consistency doesn’t mean sameness. It means every image should sound like it’s speaking the same language. One moody, high-contrast shot next to a bright, ultra-clean one feels more like a stock gallery than a curated storefront.
Teams like Pixofix build consistency into every layer — from lighting correction to color harmony. Not to chase uniformity, but to create rhythm across visuals.
Miscommunication with Clients and Teams
Retouching only works when everyone’s aligned on what “finished” means. Without clear direction, teams burn hours chasing revisions that never land. Creative directors envision one thing, retouchers interpret another. It leads to frustration and missed deadlines.
Miscommunication also causes style drift over time. Without a clearly documented retouching standard or visual style guide, different editors will make different choices. That erodes brand cohesion.
Set parameters early. Share reference images. Define approval checkpoints. Whether you work in-house or partner with a studio like Pixofix, alignment beats assumptions every time.
Best Practices for Success
Setting Clear Client Expectations
Before the first clone stamp touches an image, the scope should be locked. What level of retouching is expected? Are we enhancing realism or crafting an editorial fantasy? Which imperfections stay, and which go?
Establish clarity with visual references and detailed briefs. Include retouching notes right in your proofs — markups, annotations, or even voice notes work if you’re moving fast.
This structure protects timelines and reduces revisions. Studios like Pixofix bake expectation-setting into their onboarding, helping teams avoid creative guesswork during post.
Continuously Improving Your Skills
Editorial retouching isn’t static. Trends shift. Tools evolve. What looked polished two years ago might read outdated now. Staying sharp means studying color theory, analyzing photo campaigns, refining technique, and leaning into new software capabilities.
Take time to dissect high-end work — beauty ads, lookbooks, luxury ecommerce sites. Study how subtle changes in light and tone affect the mood. Experiment with new plugins or AI tools not as shortcuts, but as ways to accelerate your creative ceiling.
The best retouchers are perpetual students. They know craft is never “done.”
Regular Collaboration and Feedback Loops
Retouching in a vacuum rarely serves the brand. The work improves when art directors, stylists, and editors are part of the loop. Even a quick 5-minute check-in can clarify vision or fix tonal drift before hours of editing pile up.
Keep feedback structured. Share work-in-progress layers or preview exports for team comments. Create folders for “client-ready” vs “review” states so nothing slips.
In high-volume setups, Pixofix sets up shared pipelines with brands — integrating tools like Frame.io, Dropbox Smart Sync, or custom dashboards for approvals. Faster feedback. Smarter output.
Metrics to Measure Retouching Success
Tracking Turnaround Times
Time matters, especially in ecommerce drops or campaign launches. A retoucher’s artistry means nothing if the images miss launch. Tracking turnaround time per batch or asset type helps monitor bandwidth — and identify inefficiencies in the process.
Build in buffers for creative review and client feedback, but set clear internal benchmarks. If a 5-image hero set takes 2 days to retouch, aim to hold that or better.
Pixofix tracks this metric constantly, helping brands scale without sacrificing quality or speed.
Quality Score Assessment
Retouching is subjective. But consistency isn’t. A quality score gives creative teams a benchmark across edits — checking for color alignment, tone balance, sharpness, skin realism, and more.
This can be a checklist or a weighted scorecard. What matters is repeating it regularly — ideally during weekly QA checks or before assets get published.
It also gives teams a way to train new retouchers, grounding taste in measurable targets.
Client Satisfaction and Feedback
No metric beats this one. If the client or brand team regularly circles back with rounds of revision, there’s misalignment. If they sign off quickly, refer others, or request the same exact style again — you’re hitting the mark.
Capture qualitative feedback often. Ask what worked or didn’t. Collect comments about image feel, not just technical execution. Are the visuals reflecting the product’s value? Are they making the brand feel cohesive?
Feedback trends should influence your approach — and earn you long-term trust.
Optimizing Retouching for Fast-Paced E-Commerce
Developing a Standard Operating Procedure
When speed is constant, guesswork can’t be. Create a clear SOP so every retoucher, regardless of location or skill level, knows how to process each image type.
Include steps like: file naming conventions, masked layer groups, version saves, brand-approved tone curves, and export specs. Build light checklists for different product categories — beauty, apparel, accessories — since each has different touchpoints.
Pixofix formalizes these processes with brands during onboarding. It’s how they deliver hundreds of consistent, on-style images per week, not month.
Balancing Speed and Quality
The ecommerce clock is brutal: SKUs multiply, campaigns drop weekly, and platforms demand endless resized variants. But shortcuts kill quality — especially if you rely on presets or AI without oversight.
The balance comes from smart workflows. Stack automation at the start (AI background cleanup, base tone-match LUTs). Save nuance for the final skin pass or color harmonization.
Use batching wisely. Set up non-destructive templates to apply high-quality edits rapidly. Pixofix blends this hybrid model — speed from AI and presets, finish from humans.
Integrating with E-Commerce Platforms
The best retouching doesn’t just look good. It works in your ecommerce system — fast loads, right aspect ratios, mobile-friendly color balance.
Images that don’t meet platform standards (Shopify compression rules, Meta ad specs, Amazon white background standards) cause delays or display issues. That’s friction your brand doesn’t need.
Retouch-and-export pipelines should map directly into your CMS or DAM. Use smart exports with metadata tagging, auto-resizing tools, and cloud sync folders for easy image ingestion.
Studios like Pixofix build post-processing directly into their handoff flow, so your edited assets drop straight into your publishing system — ready to launch.


.png)

.png)
