.png)

Amazon Product Photo Editing: How to Make Your Listings Shine & Convert
Amazon’s Image Requirements and Guidelines
Getting your product photos to look great is only part of the job. They also need to follow Amazon’s rules — or you risk losing visibility or even getting your listing suppressed. These guidelines are strict for a reason. Amazon wants consistency, clarity, and a distraction-free shopping experience.
Main Image Rules
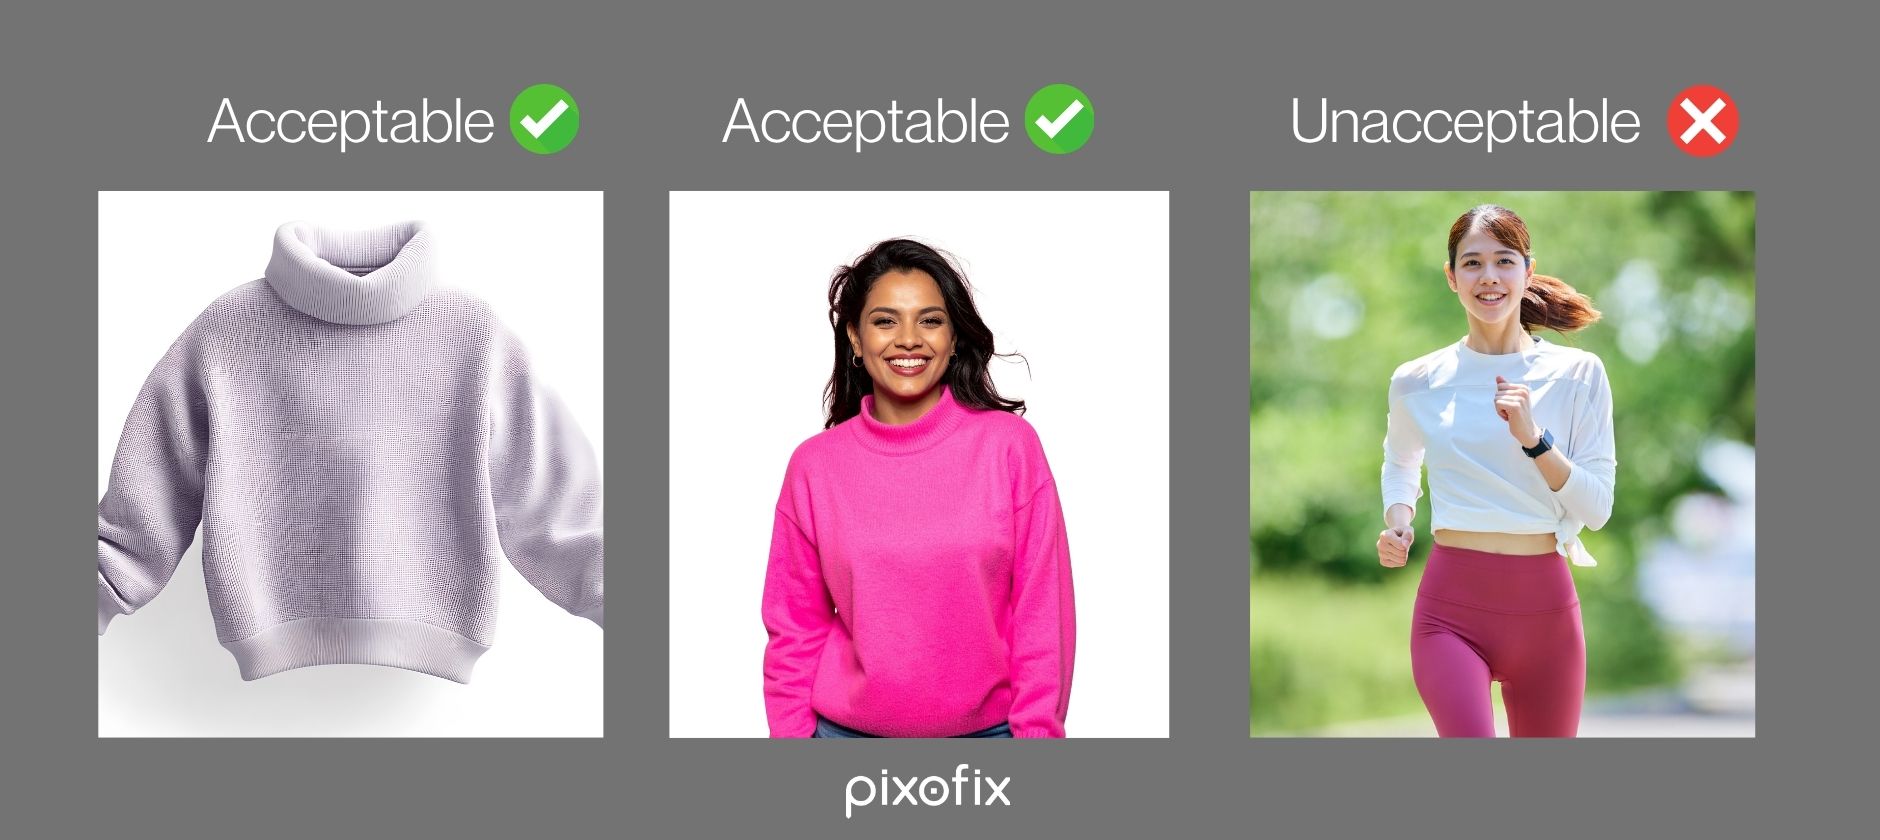
The main image is your hero. It is the first thing shoppers see, and Amazon has specific demands for how it should look.
- White background only. Amazon requires pure white — not off-white, not gray, not textured. That means the background needs to be set to RGB 255,255,255. If you miss that, your listing can get flagged. [Source: Meta Clipping Path]
- Product fills most of the frame. Aim for around 85 percent of the image space. Too small, and it looks lost. Too big, and it might get cut off on thumbnails. Centering also matters for symmetry and professional appeal. [Source: The Clipping Path Service]
- No extras allowed. That means no text, no watermarks, no logos, and no graphics. Just the product, clean and clear. [Source: My Amazon Guy]
This is not the place to be creative. Your main image exists to make the product look polished, not clever.
Technical Specs: Size, Format, Resolution
Amazon uses zoom features and dynamic resizing, so your file specs matter more than most sellers realize.
- Minimum image size should be at least 1000 by 1000 pixels. This enables the zoom function, which helps shoppers inspect details. [Source: Eva Commerce]
- Recommended size is over 2000 pixels on the longest side for sharper results, especially on high-resolution screens. [Source: Jungle Scout]
- Acceptable formats include JPEG, PNG, TIFF, and GIF. JPEG is the preferred format due to its balance of quality and file size. [Source: The Clipping Path Service]
- Use sRGB color space. This is the standard Amazon expects. Avoid over-compressing images during export, since artifacts can hurt perceived quality.
A sharp image at the wrong resolution is still a problem. File formatting is part of the editing process, not just an afterthought.
Secondary and Detail Image Guidelines
Once your main image is locked in, your secondary photos are where creativity and marketing can come into play.
- Lifestyle shots and infographics are allowed and encouraged. These can show the product in use, highlight features, or add context.
- Backgrounds can vary. You are not limited to pure white here. Neutral tones or real-life settings often perform better, as long as they look professional. [Source: Photo Edit Up]
- Show different angles, close-ups, and packaging if applicable. The more you help the customer visualize ownership, the less they hesitate.
Amazon recommends at least six images per listing. The best-performing listings often use the full gallery.
Key Editing Techniques for Amazon Product Photos
Background Removal and Cleanup
Amazon’s white background requirement might sound simple, but executing it cleanly is where most sellers slip up.
You can remove backgrounds using clipping paths or masking. Manual methods offer the cleanest results, especially for products with fine edges like jewelry, hair, or textured packaging. Auto-removal tools like Remove.bg or Photoshop’s AI selection can help, but always double check. Halos, rough edges, or color fringing will make your image look amateur fast.
A clean silhouette with no fuzz, no spill, and no weird shadows — that is the goal.
Color Correction and Consistency
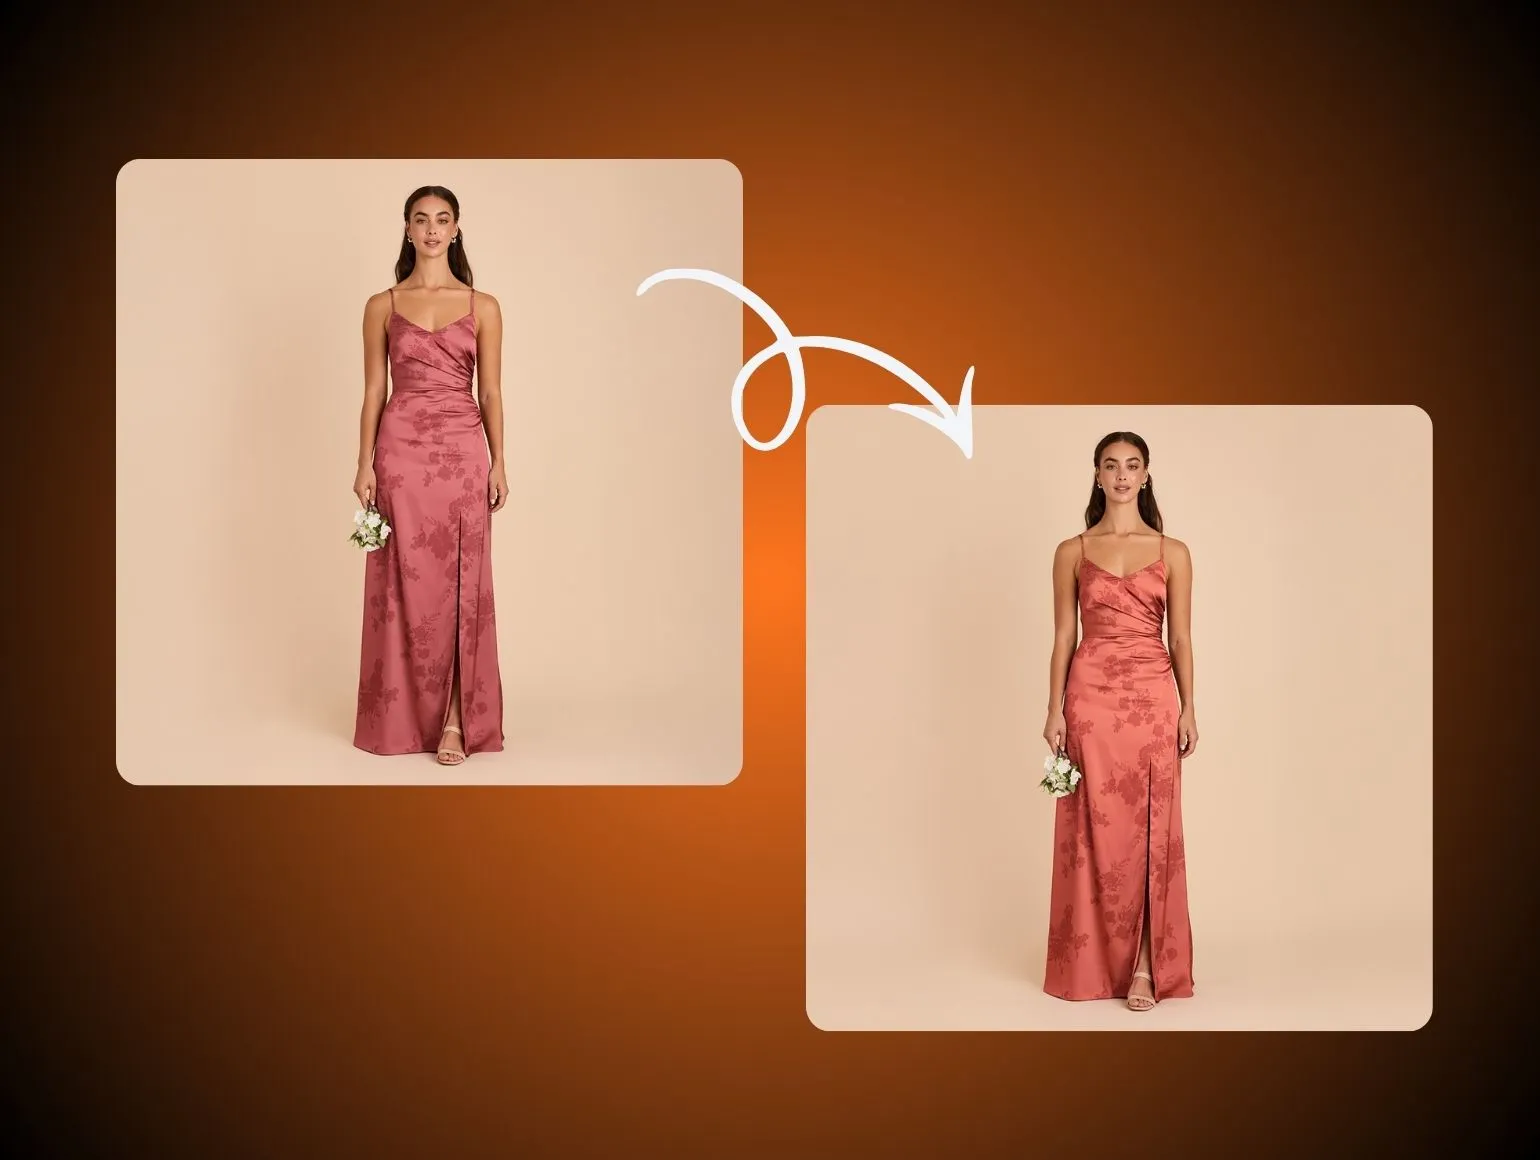
Colors need to look accurate and uniform across your entire product line. That means white balance, exposure, contrast, and saturation all need to be locked in.
Use color calibration tools during your shoot if possible. In editing, match each product variation exactly. If your red shirt looks like three different shades of red depending on the image, expect returns and bad reviews. Customers shop with their eyes, and inconsistency kills trust.
Shadow, Reflection, and Grounding Effects
To avoid that awkward floating look, you need grounding. That can come from soft drop shadows, subtle reflections, or natural gradients beneath the product.
Add shadows manually or with layer styles to give depth without overpowering the product. Reflections work well for glossy surfaces or premium items, but they need to be faint and believable.
Always keep shadows consistent with your light source. Inconsistent shadows are one of the fastest ways to make a photo look fake.
Retouching and Flaw Removal
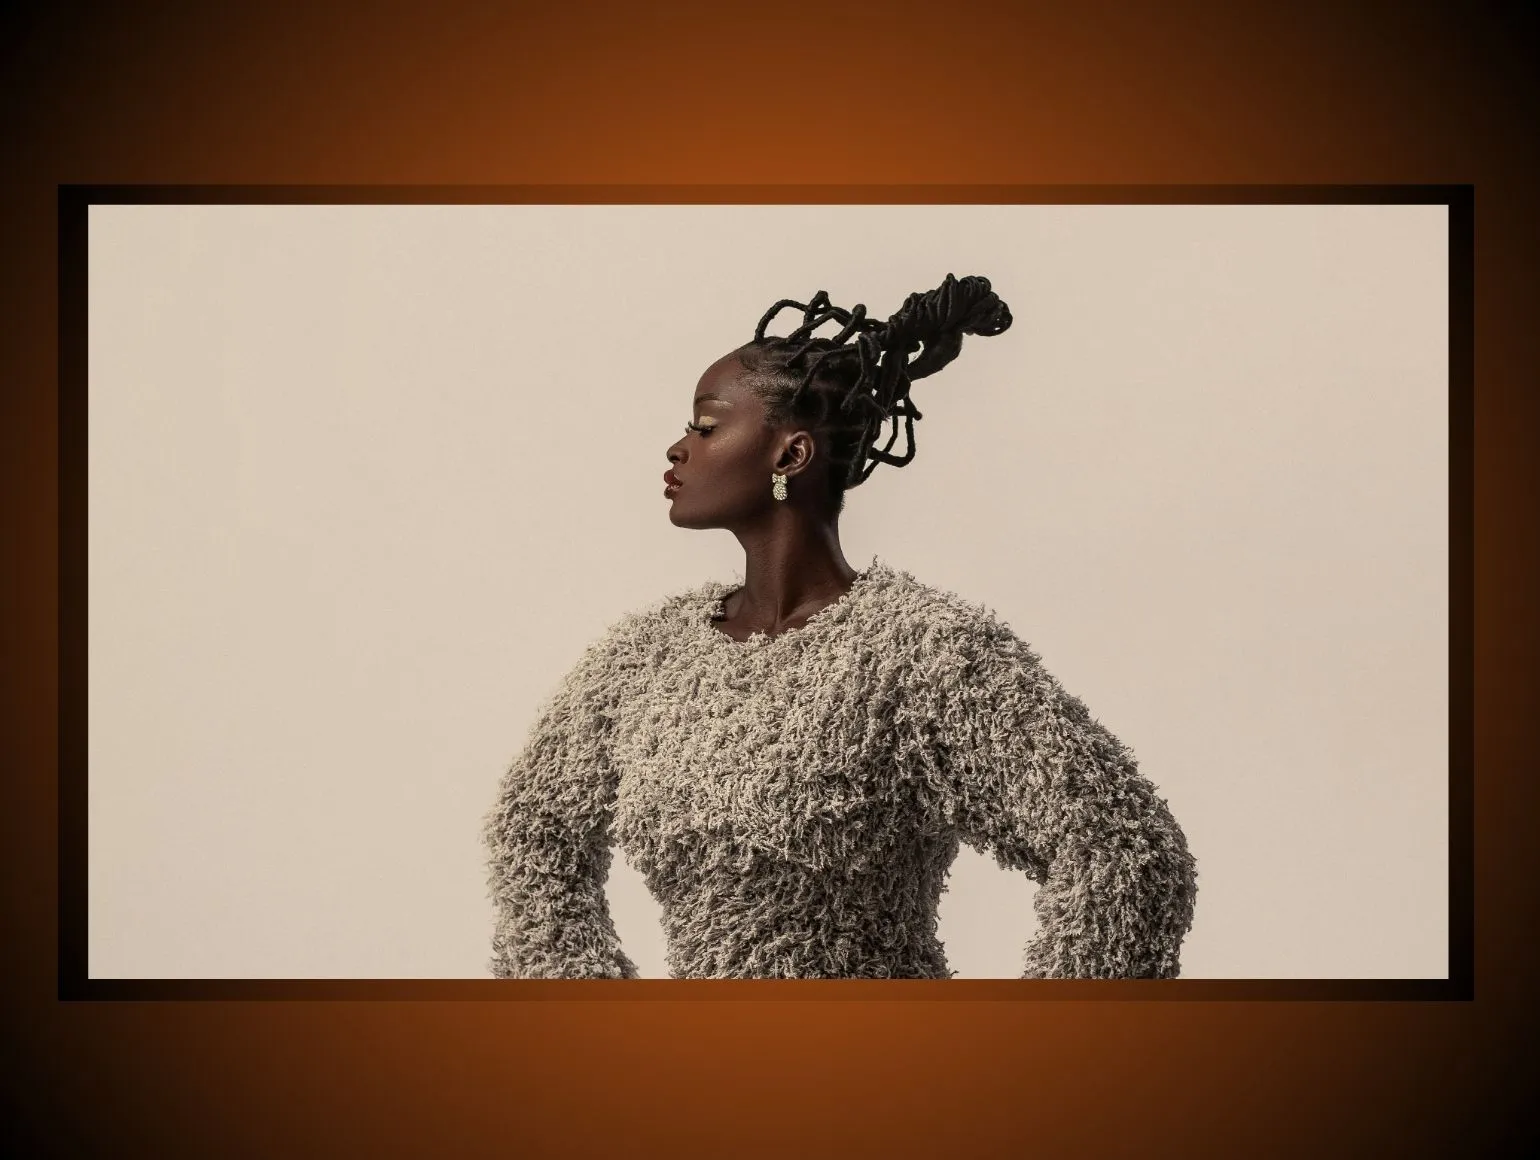
Small flaws become big distractions in high-resolution images. Clean off dust, remove scratches, and polish edges. For products with texture, be careful not to over-smooth. If you are editing fabric, wood, or leather, the texture is part of the appeal.
This is not a beauty filter. It is a cleanup pass. The goal is to make your product look its best version — not its fake version.
Cropping, Resizing, and Optimization
Crop so the product stays centered and fills the right amount of frame. Resize to meet Amazon’s zoom requirements. Then compress your file to strike a balance between image quality and fast page loads.
A crisp, optimized JPEG under two megabytes is ideal. Oversized files slow down the listing. Low-res images blur when zoomed. You want sharp, fast, and correct — all at once.
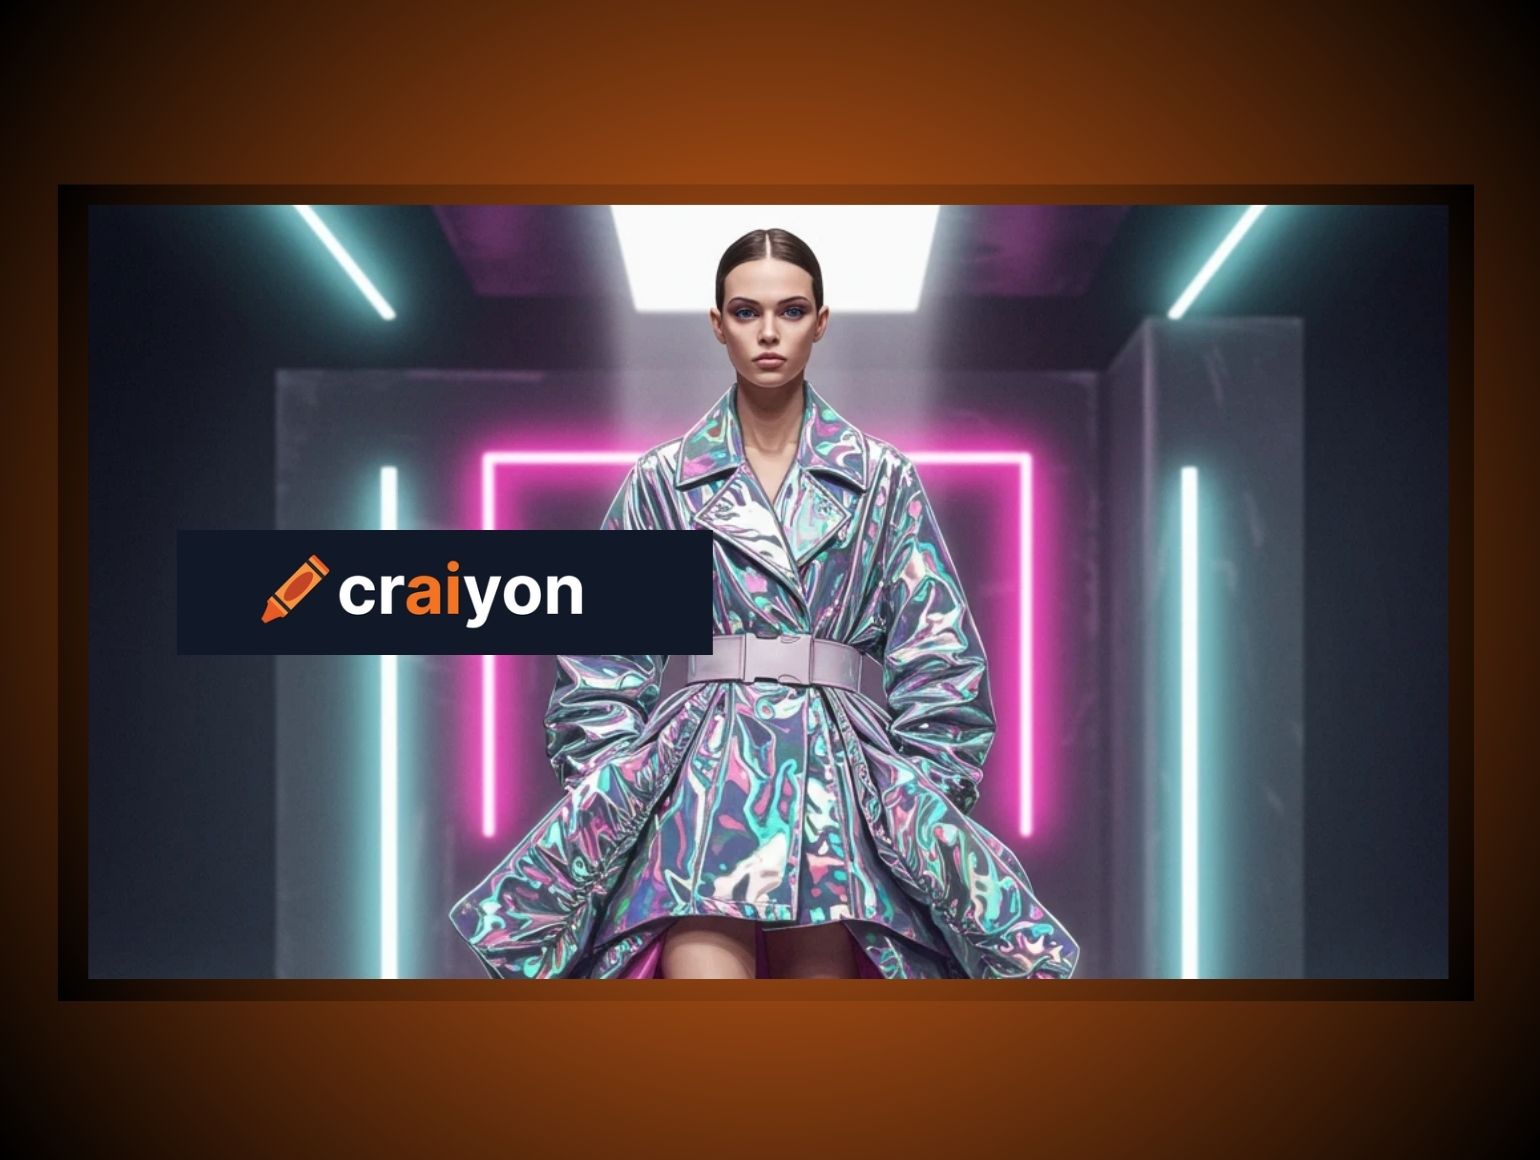
Advanced and Specialized Edits
Some categories need extra care. Clothing often benefits from ghost mannequin techniques, where the interior of the garment is composited in. Jewelry and transparent products need complex masking to handle reflections and transparency.
If your product spins or needs multiple angles, plan for batch editing to maintain lighting and alignment across all frames. This makes your listings look consistent and professional.
Workflow: From Unedited to Final Listing
Pre Edit Preparation
Before any editing begins, set yourself up for success. Shoot in RAW format to keep the full range of color and detail. Use consistent lighting and white balance across all shots. This reduces the amount of correction needed later.
If you can, include a color chart or gray card in the first frame of each shoot. That gives you a reference point for accurate color correction during post production.
Creating a Clear Editing Brief
If you are working with an editor or agency, don’t just send the images and hope for the best. Create a simple brief.
Include a style guide with notes on brightness, contrast, and shadow type. Add sample images from your brand or competitors to show what you like. Make sure to note which edits are mandatory and which are just nice to have.
A clear brief saves time, reduces back and forth, and helps your editor deliver exactly what you need.
Submission and Revision Process
Organize your files. Use consistent naming that ties each image to the product listing, such as the ASIN or SKU. That helps your editor track versions and keep the catalog structured.
If you are editing in batches, group your files by product type or photo style. Use proofing tools or markup systems to give precise feedback during revisions.
Agree upfront on how many rounds of revision are included and what turnaround time to expect. This keeps the process predictable on both sides.
Quality Check and Final Approval
Once the edited images come back, do a detailed side-by-side review. Check each image against Amazon’s requirements. Is the background pure white? Are the edges clean? Is the product centered and properly sized?
Look at colors, too. If you are selling variants, every version should look like part of the same family.
Finally, export in the right format. Use JPEG with the correct resolution and color space. Upload to your listing, preview it live, and confirm that everything displays correctly.
One missed detail can hurt conversion or trigger a rejection. Always do a final review before going live.
Choosing an Amazon Photo Editing Service Provider
Evaluating Quality and Portfolio
Before choosing a service, look at their actual work. Not just generic samples — you want to see Amazon-specific edits. Do they follow Amazon’s white background rule? Do their images look crisp and centered? Have they worked in your category, whether that is apparel, electronics, or beauty?
Look for before and afters. A strong portfolio shows attention to detail, consistency, and technical understanding of marketplace standards.
Turnaround and Capacity
Speed matters, especially if you have dozens or hundreds of SKUs. Ask how many images the provider can handle daily. Can they scale up if needed? Do they offer rush delivery?
Quick turnaround is great, but only if it comes with quality. A fast edit that misses Amazon’s rules is worse than a slow one done right.
Pricing Models and Cost Structure
Editing services vary in how they charge. Some bill per image. Others offer bulk pricing or subscription models for ongoing work.
Ask about extras. Ghost mannequin edits, 360 spin sets, or transparent object retouching may come with added fees. Make sure you understand what is included in the quote so there are no surprises later.
Revisions, Communication, and Workflow Tools
Clear communication is key. Does the provider have a system for feedback? Can you annotate changes or send marked-up proofs? How responsive are they when questions come up?
The best editing partners make it easy to share notes, request revisions, and keep projects moving. This matters more than you might think, especially when working with high-volume listings.
Data Security and Rights
You are sharing original product images and sometimes unreleased assets. Ask how they handle storage, backups, and file deletion after delivery.
Check for NDAs or licensing terms. You should always retain rights to your edited files. A good provider respects that and puts it in writing.
Integration and Delivery Format
Finally, make sure the output fits into your system. Can the provider send images via cloud storage, FTP, or direct upload? Are the files named and formatted in a way your team or CMS can handle?
Smooth delivery saves hours on your end. The fewer steps it takes to go from edit to live listing, the better.
ROI and Benefits of High Quality Amazon Editing
Great editing is not just about looks. It is a direct driver of sales performance on Amazon. The better your photos, the more people click, stay, and buy.
Increased Conversions and Click Through Rates
Your main image is your storefront. If it is crisp, clean, and well-lit, shoppers stop scrolling. Listings with high quality images see higher click through rates and better conversion. Amazon’s own A/B testing tools often prove this out.
Even small improvements — like cleaner shadows or tighter cropping — can lift performance. When you are competing with dozens of similar listings, small edges matter.
Better Customer Trust and Fewer Returns
Shoppers trust what they can clearly see. If your images are consistent, accurate, and professional, it signals credibility. That leads to more purchases — and fewer returns.
Returns often happen when the product does not match expectations. Accurate color, realistic texture, and true scale in your photos help set the right expectation from the start.
Brand Consistency Across Your Catalog
If your brand sells multiple items, your images should feel like part of the same visual family. Consistent lighting, cropping, and editing make your store feel unified.
This consistency builds brand memory. It also makes your storefront or seller profile look more premium, which builds long term trust with repeat buyers.
Time Savings Versus In House Editing
Outsourcing to a skilled editing service can save you dozens of hours each month. If your team is not trained in Amazon standards, doing it in house can mean extra revisions, missed specs, or listing delays.
When you partner with a service that already knows the platform, you get speed and accuracy together. That frees up your time to focus on growth — not just file handling.
Common Mistakes and How to Avoid Them
Even with good intentions, small editing mistakes can cause big problems on Amazon. These are the issues that come up most often — and how to avoid them.
Over Editing or Unrealistic Images
It is tempting to make everything look perfect. But too much smoothing, color saturation, or artificial lighting can backfire. Customers want to see the real product, not a digitally inflated version.
Keep edits clean and subtle. If the final image looks better than the item in real life, you are going to get returns and bad reviews.
Inconsistent Style Across Product Lines
If one product is photographed with soft shadows and another with harsh light, your listings feel disjointed. This inconsistency makes your brand look less professional.
Set a visual style and stick to it. Use the same lighting, editing process, and cropping across all your SKUs whenever possible.
Ignoring Color Accuracy
If your red dress looks orange in the listing, expect unhappy customers. Always use color correction tools and reference cards during the shoot. Check that all variants match their real-world counterparts.
This is especially important in categories like apparel, home decor, or accessories, where color drives the buying decision.
Poor Masking Around Edges
Rushed background removal often leaves jagged edges, soft halos, or leftover shadows. These are easy to spot and instantly lower the perceived quality of your product.
Zoom in during your final review. Look at hairlines, corners, and detailed edges. Every pixel counts in ecommerce.
Not Checking Compliance with Amazon’s Guidelines
Your image might look great but still violate Amazon’s rules. If you forget the white background, add a graphic element, or use the wrong file size, your listing can get suppressed.
Always run a checklist against Amazon’s latest photo standards. Staying compliant protects your revenue and saves you from unnecessary stress.
Large File Sizes Slowing Page Load
Crisp images are great, but huge files can slow down your listing load time. That hurts user experience and may reduce conversions.
Optimize your JPEG exports. Aim for under two megabytes when possible without sacrificing quality. Speed and sharpness can coexist when you get the compression right.
Main Takeaway
Editing your Amazon product photos is not just a technical step. It is a core part of how you sell. Strong editing builds trust, boosts clicks, and reduces returns. It also keeps your listings compliant with Amazon’s strict rules.
From background removal to subtle retouching and final file export, every step affects how your product shows up to shoppers. A clean, well-edited image often outperforms better products with poor visuals.
If you are not sure where your photos stand, now is a good time to audit your listings. Are your main images sharp and centered? Do your detail shots show the right angles? Are your colors accurate across variants?
If not, try editing a few listings or test a specialized service. The improvement in conversions might surprise you.


.png)
.png)