.png)

Ghost Mannequin Photography: The Complete Guide for Fashion Brands
Ghost Mannequin Photography: The Complete Guide for Fashion Brands
Ghost Mannequin Photography Overview
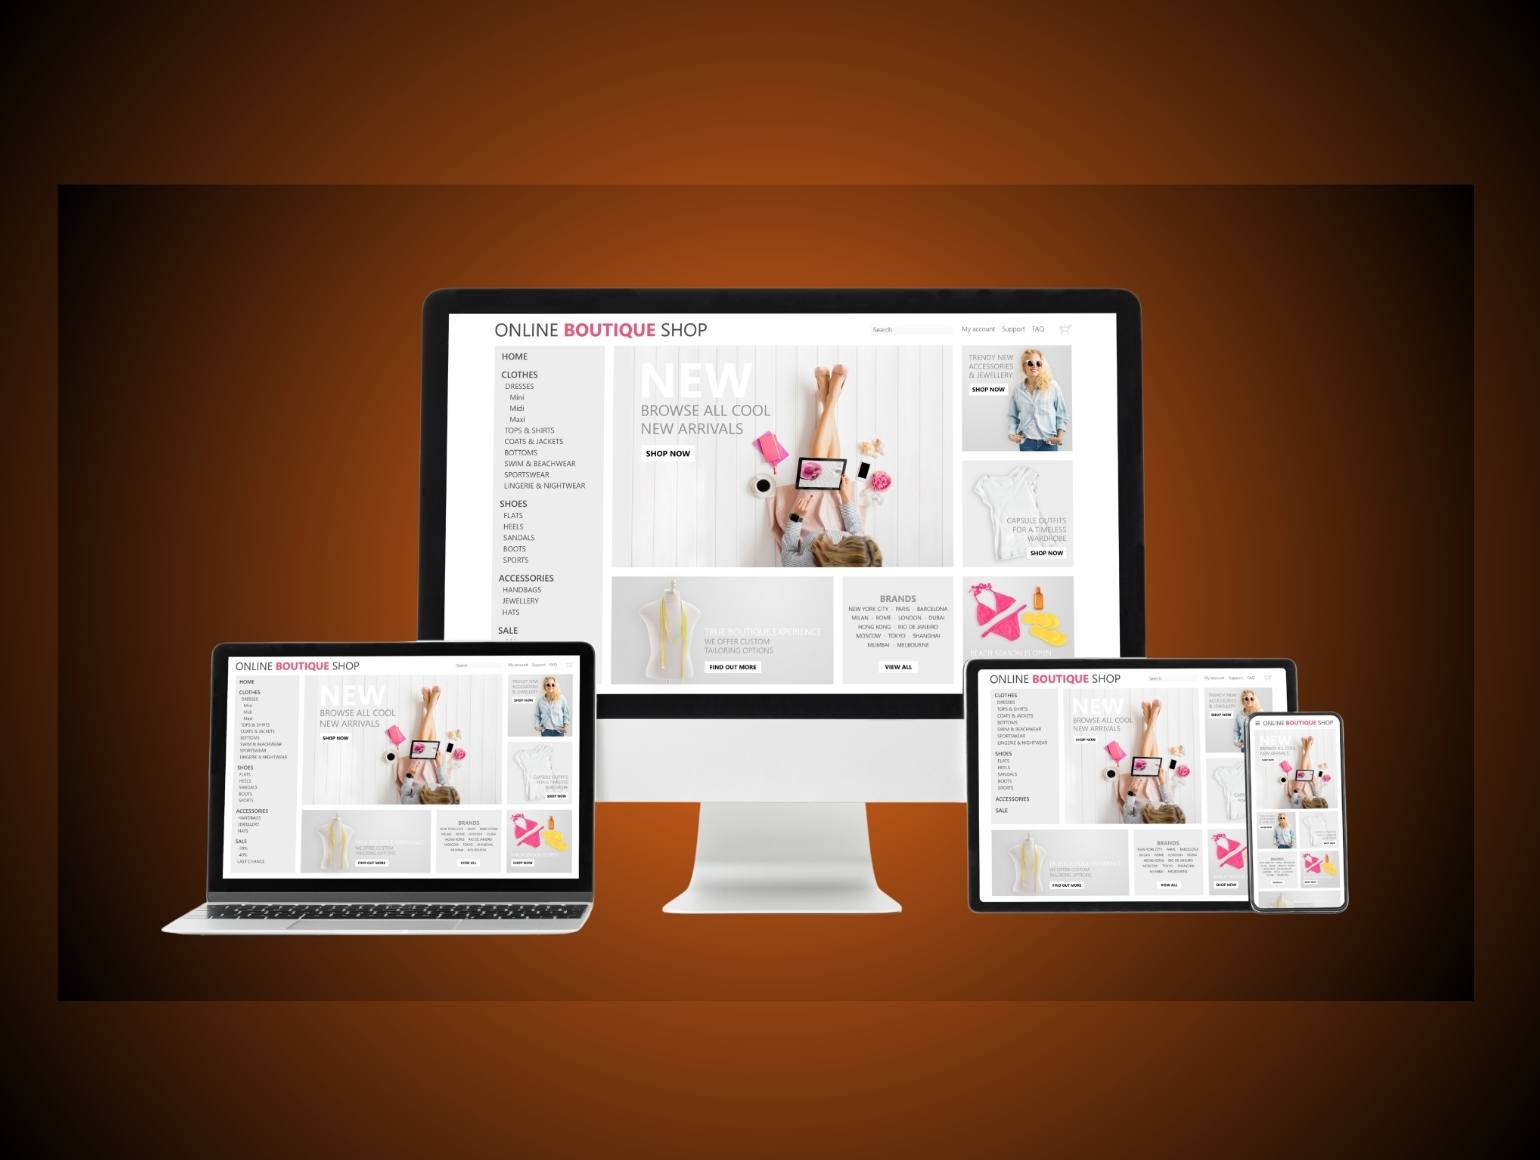
Ghost mannequin photography gives apparel the shape of a worn garment without showing the form beneath it. For fashion brands managing large SKU counts, that matters because fit, drape, and interior construction all need to read clearly at thumbnail size and on zoom. The method also reduces post-production bottlenecks compared with model-led shoots, since the set is simpler and the reshoot surface is smaller. Pixofix uses this workflow for catalog work where consistency, colorways, and speed all need to stay aligned.
The strongest results come from treating the process as a production system, not a photo style. That means fixed garment prep, controlled camera placement, repeatable lighting, and QC loops after every batch. If those steps are loose, the final image may look polished but still fail on collar geometry, shoulder structure, or edge alignment. The rest of this guide focuses on how to keep the workflow tight.
Ghost Mannequin Photography For Fashion
Fashion teams usually choose this format when they need a product-first image that still preserves volume. Structured jackets, woven tops, knitwear, dresses, and outerwear benefit most because the method shows the garment’s internal shape as well as its outer silhouette. Hanger shots flatten the garment. Flat lay removes body, but also removes much of the dimensional read buyers use to judge quality.
This format is also useful when channel consistency matters more than storytelling. Marketplace listings, replenishment SKUs, and core collection pages benefit from standardized framing and neutral presentation. If your catalog is updated often, build a style guide that defines shoulder width, crop height, and shadow treatment by category. That gives retouchers a clear target and keeps batch review faster.
Best Garment Types
Tailored blazers, coats, shirts with structured collars, and midweight knits are ideal candidates. These pieces hold form on a mannequin and retain their value when the center body is removed in post. Dresses with defined seams and heavier hems also work well, especially when the shoot includes interior labels and neckline inserts. For soft, body-dependent products, test first before scaling.
Avoid forcing the method onto items that collapse without a human body. Swimwear, lingerie, and some stretch athleticwear often need live models because the visual read depends on tension and anatomy. When in doubt, run a pilot batch and compare the return data, image approval rate, and merchandising feedback before locking the format.
Why Brands Use It
The main reason is control. Ghost mannequin photography makes the silhouette repeatable across many SKUs, which is hard to maintain in on-model production. It also supports faster handoff from studio to retouch, since the image structure is already centered on product geometry. That translates into fewer revisions and fewer surprises in QC loops.
Another advantage is that it supports technical merchandising. Buyers can inspect plackets, seams, stitching, and interior labels without needing a lifestyle image to do the heavy lifting. That makes it easier to keep PDPs clean while still answering fit questions. If you sell across multiple regions, this consistency also helps when local teams need variants for marketplace compliance.
Ghost Mannequin Photography Setup
The setup stage decides most of the outcome. If the mannequin fit is wrong or the garment is poorly prepped, no amount of masking will fully recover the image. The goal is to eliminate avoidable corrections before the shutter fires. In practice, that means choosing the right form, prepping the garment properly, and locking the camera and lighting setup before the first test shot.
Teams often underestimate how much time is lost when setup changes from SKU to SKU. Even small differences in focal length, white balance, or mannequin size create visible drift across the catalog. Build a repeatable setup sheet for each product class. That sheet should include lens choice, tripod height, light placement, and the exact order of shots.
Choose The Right Form
The mannequin should match your fit block, not a generic size chart. Modular forms are best because they let you adjust neck, shoulder, and torso sections for different apparel cuts. Avoid glossy surfaces, since they create harsh highlights that increase retouch time and complicate masking. A matte surface gives cleaner edges and better texture separation.
Fit is especially important at the shoulder and armhole. If the form is too wide, the garment may spread unnaturally and distort the drape. If it is too narrow, the fabric may wrinkle in ways that misrepresent the fit. Before a full batch, test one garment from each major category and inspect the shoulder slope, neck opening, and side seam alignment.
Prepare Garments Correctly
Steam every item and inspect it before placement. Button plackets should sit flat, zippers should close cleanly, and hems should be pinned or shaped so the form reads naturally. Tissue paper, clips, and selective pinning help maintain volume without making the garment look stuffed. That prep work saves time later in Photoshop and keeps the final edges cleaner.
Also inspect for manufacturing defects before the shoot starts. Loose threads, snags, lint, and misaligned seams become much more visible once the background is stripped away. Use a last-looks checklist with sign-off from the prep team and the photographer. That single step often reduces avoidable rework in the retouch queue.
Lock Camera Angles
The camera position should stay fixed for each garment family. Use tape marks on the floor and a measured tripod height so front, back, and detail shots remain consistent. Switching angle mid-run causes proportion drift, especially on collars and long sleeves. That can make the catalog look inconsistent even when each image is individually sharp.
Use a standard lens range that avoids distortion. Wide lenses make shoulders look exaggerated and can throw off sleeve pitch, while overly tight framing reduces the room needed for compositing hidden areas. Keep the angle chart near the studio station and record it in your production notes. That makes later QC much easier.
Light For Fabric
Lighting should reveal texture, not erase it. High-CRI sources help maintain accurate color, while softboxes and controlled fill keep the surface readable without specular blowout. Side light helps show weave and seam depth. Top-heavy lighting can flatten knits and make matte garments look dull.
Always include a grey card and, where needed, color chips in the setup. That gives the retoucher a reference point for matching across colorways and across shoot days. It also helps when garments with similar tones need separate treatment. A stable lighting recipe is one of the easiest ways to reduce post-production bottlenecks.
Ghost Mannequin Photography Editing
Editing is where the ghost effect becomes believable. The goal is not to hide the mannequin with broad cleanup. It is to reconstruct the garment so the viewer reads volume, structure, and interior detail in a single frame. That requires careful masking, accurate compositing, and controlled shadow work.
AI can help with repetitive steps, but it still misses details that matter in fashion production. Skin quality, hands in lifestyle insert shots, jewelry reflections, and shoulder structure often break under automation. Even when the mask is close, the collar edge or inner label merge can look synthetic. Human review remains necessary.
Capture The Needed Views
At minimum, capture the main front, back, and internal neckline or collar area. For pieces with layered construction, shoot sleeve openings, lining, and hem details too. The more complex the garment, the more support frames you need for a clean composite. If you skip a needed view, the retoucher will have to invent structure later.
Plan the shot list before the first item is styled. That avoids missing a side seam or interior panel when the garment is already packed away. For complex outerwear, create a category-specific template so every SKU gets the same coverage. This keeps revisions down and speeds the path from shoot to live.
Mask Out The Form
Use clipping paths for hard edges and channel-based masks where the fabric edge is softer. That gives you better control around collars, cuffs, and fine seam lines. The mask should remove the form without biting into the garment edge. Check it at 100 percent zoom, not just on the full frame.
Automated masking can speed bulk work, but it should not be trusted blindly. Similar tones between garment and form often produce edge confusion, especially in light knits or black satin. When that happens, clean the problem areas manually. This is slower, but it preserves edge fidelity and reduces downstream corrections.
Composite Interior Areas
The hollow center must be built from real garment photography, not generic fill. Align interior shots with the outer shell so stitch direction, shadow depth, and fabric grain remain continuous. Watch for double-neck errors and visible overlaps around the back collar. Those are the first places buyers notice when a composite is rushed.
For striped, patterned, or textured garments, pattern continuity matters more than perfect symmetry. If the pattern jumps at the merge, the image will look fake even if the edges are clean. Use guide layers and consistent anchor points to keep the pattern flow intact. That habit saves time when multiple retouchers touch the same file.
Add Real Shadows
Shadows should support shape, not dominate it. Build them from actual light behavior captured during the shoot or from carefully matched layers in post. Avoid broad AI-generated shadow fields, because they often miss garment weight and place the falloff in the wrong direction. This is especially obvious on transparent panels, lace, and mixed fabrics.
Use dodging and burning to restore depth where needed. Keep the shadow tone consistent across a batch, but let the garment dictate the edge softness. Heavy wool should cast a firmer line than a silk blouse. That small discipline improves the premium read of the entire catalog. It also aligns with high end photo retouching.
Export Clean Files
Export to the exact specifications for each channel. That includes pixel dimensions, background tone, file type, and color profile. Keep naming conventions consistent so assets can move cleanly through the DAM and into the marketplace feed. If your team tracks metadata, embed it at export rather than patching it later.
Before delivery, run a final QC pass for crop, edge artifacts, and color drift. That step should catch issues before the file reaches the storefront team. Pixofix uses this final audit to stop rejectable files from entering the next stage. The result is less rework and fewer listing delays.
Ghost Mannequin Photography Metrics
Metrics make the workflow manageable at scale. Without them, teams often judge success by visual taste instead of production efficiency. Track both image quality and operational speed. That gives merchandising, studio, and operations teams a shared reference point.
Choose KPIs that reflect the real bottlenecks in your pipeline. If retouch time is high, measure it directly. If marketplace rejections are frequent, track where and why they happen. If a batch looks good but takes too long, the process is still weak.
Core KPIs
Measure shoot to live time in days, and break it out by stage. Track cost per image, retouch hours per SKU, reshoot rate, and first-pass approval rate. Also record marketplace rejection rate and the number of QC loops required before sign-off. These figures show whether the workflow is stable or just visually acceptable.
You should also watch catalog consistency by batch. A simple visual match score can flag drift in angle, crop, or background treatment. For large programs, compare results across colorways so one strong image does not hide a weak variant. The aim is to keep each batch predictable.
Production Targets
Set target ranges by category rather than one global benchmark. A blazer might need more retouch time than a tee, and a lined coat may require more interior shots than a blouse. That context prevents teams from chasing the wrong number. If the target is too rigid, the studio will optimize for speed at the expense of fit accuracy.
A practical target is to reduce average days from shoot to live over time while holding approval rates steady or improving them. Also watch the cost per finished image as volume increases. If costs rise while the catalog stays the same, there is likely a weak handoff between shoot, edit, and review. Fixing that handoff often yields the fastest improvement.
Ghost Mannequin Photography Mistakes
Most failures come from process gaps, not from the camera itself. Poor prep, bad fit, inconsistent white balance, and overediting can all make the final image look inconsistent. The best fix is to identify the failure point early and keep it from reaching batch approval. That is where strong QC loops matter.
Avoid treating automation as a full replacement for retouch judgment. AI can draft masks, suggest fills, and speed review, but it still struggles with shoulder shape, label merges, jewelry reflections, and fabric transitions. Those are production problems, not just software problems. If they are ignored, the catalog may pass a quick glance but fail on zoom.
Common Errors
The first error is poor garment prep. Wrinkles, lint, and sloppy pinning force extra editing and can distort the silhouette. The second is wrong mannequin fit, which creates unnatural folds or overstretched seams. The third is inconsistent lighting, which changes color and texture from one run to the next.
Another frequent issue is over-smoothing. When teams try to hide every wrinkle, the fabric loses fiber detail and begins to look synthetic. That is especially harmful on premium goods where texture carries value. Keep the actual weave visible and remove only the artifacts that come from setup mistakes.
How To Prevent Them
Use a prep checklist, a fit block chart, and a locked lighting recipe for every shoot day. If the batch is large, assign a separate QC reviewer who did not touch the initial retouch. Fresh eyes catch the small errors that the production team starts to ignore. This reduces repeat mistakes across the whole season.
Document each error type and tag it in your production notes. After a few batches, patterns will emerge. Maybe one mannequin size causes collar distortion, or one light setup makes dark knits too flat. Fixing the root cause is better than patching the same issue over and over.
Ghost Mannequin Photography And AI
AI is useful in this workflow, but it has clear limits. It can help with LoRA training, draft masking, virtual models, and some generative video use cases. It can also reduce the labor spent on repetitive first-pass cleanup. What it still cannot do reliably is judge whether the image feels physically correct.
The biggest weakness is realism at the edges. Hands, skin, jewelry, shoulder structure, and transparent fabrics often break under generation or automated compositing. Even when the image is technically neat, the garment may lose weight or the collar may sit in a way that feels off. That is why AI should support QC, not replace it.
Where AI Helps
AI is strongest in the early stages of production. It can speed masking, help sort batch files, and provide rough compositing drafts before manual cleanup starts. For teams handling multiple colorways and large runs, that can save hours of repetitive work. It also helps when you need quick layout tests before committing to a final edit path.
Used carefully, AI can reduce post-production bottlenecks. It should be wrapped inside human review, not left as a final output engine. The best pattern is draft first, retouch second, approve last. That structure keeps speed gains without sacrificing the garment read.
Where AI Fails
AI still struggles with shoulder slope, label alignment, and the micro-shadows that sell fabric depth. It also tends to smooth texture in ways that make wool, denim, and matte knits look artificial. Jewelry reflections and translucent overlays often come out wrong too. Those failures are obvious in category pages and zoom views.
Because of that, use AI only where it improves throughput without changing the garment truth. If a tool invents shape, remove it from the final workflow. Fashion imaging depends on precision. A convincing image that misstates fit is still a bad asset.
Outsourcing Ghost Mannequin Photography
Outsourcing makes sense when internal teams cannot keep pace with seasonal volume or channel demands. It also helps when you need specialized masking, garment handling, or faster turnaround than your studio can support. The decision should be based on throughput, quality, and control, not just labor cost. A good partner brings both production discipline and clear reporting. If you’re comparing vendors, the criteria in choosing the right post production prtner services are a useful benchmark.
Choose vendors who document their process and can handle revision cycles without losing consistency. They should understand clipping paths, shadow treatment, texture mapping, and marketplace specs across channels. Ask how they handle SLA adherence, QC loops, and escalation when a batch fails review. If they cannot answer those questions clearly, the fit is probably weak.
Evaluate A Partner
Start with a small pilot batch. Ask for turnaround time, first-pass approval rate, and per-image cost before you scale further. Review the edits at 100 percent, not just as thumbnails. That will show whether the team can handle collars, seams, and fabric edges cleanly.
Also ask about their studio controls. Do they use standardized lighting, fixed camera angles, and documented retouch rules? Do they track rejection reasons and feed them back into the next batch? Those are the signs of a mature operation.
Build A Review Process
Even with outsourcing, keep a strong internal review layer. Someone on your team should own the style guide, sample checks, and final asset approval. That keeps brand standards intact while the external team handles volume. Without that ownership, image quality tends to drift over time.
Set a clear revision limit and define what counts as a defect. That reduces back-and-forth and keeps both sides aligned. If the vendor cannot correct the same problem after two rounds, the process needs to change. Good outsourcing is a system, not a handoff. For teams building a broader production stack, the ecommerce photo editing guide may also help frame the service model.


.png)
.png)