.png)
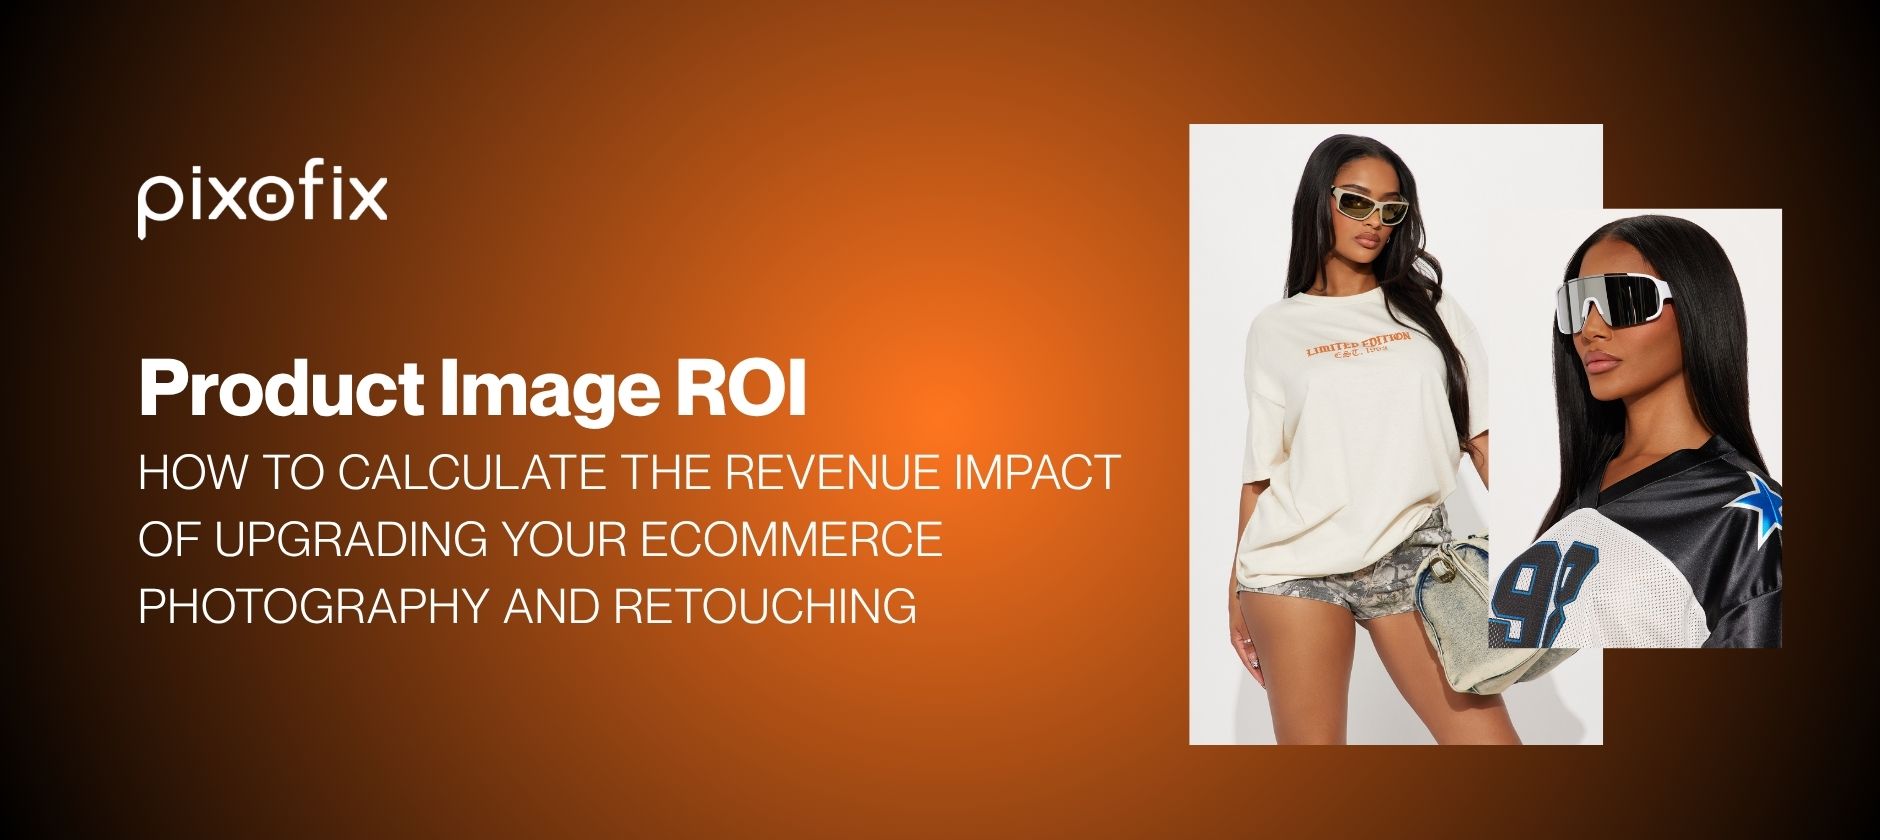
Product Image ROI: How To Calculate The Revenue Impact Of Upgrading Your Ecommerce Photography And Retouching
Product Image ROI: How To Calculate The Revenue Impact Of Upgrading Your Ecommerce Photography And Retouching
Most ecommerce teams obsess over conversion and return rates at the SKU level, yet almost none tie those metrics directly to image specs. That blind spot is where product image ROI hides, especially once you ask what upgraded photography and retouching are actually worth per SKU and per month.
If you run 500 to 10,000 plus SKUs through your studio, “nice images” is not the question anymore. The question is whether another dollar per image returns three, five, or ten across conversion, return reduction, ad performance, and production efficiency. This guide focuses on that math, not aesthetics.
Calculate Product Image ROI Fast
Product image ROI is not abstract. You can quantify it in a single formula if you isolate the right inputs and treat visual changes like any other growth experiment.
At its simplest:
Product image ROI =
[ \frac{\text{Incremental profit from image upgrade} - \text{Incremental imaging cost}}{\text{Incremental imaging cost}} ]
You only need three buckets to get started: revenue lift, cost to produce, and return reduction.
Define Revenue Lift Inputs
Revenue lift starts with incremental performance, not absolute performance. You care about the difference between “before” and “after” for SKUs that received upgraded photography or retouching.
For each SKU or test group, capture:
- Sessions to PDP
- Conversion rate
- Average order value
- Units sold per visitor, if you track attachment
Then estimate:
[ \text{Incremental revenue} = (\text{New CVR} - \text{Old CVR}) \times \text{Sessions} \times \text{AOV} ]
If you run dynamic creative in ads, include media performance where image variants differ only in quality, not offer. For those, the lift is:
[ \text{Incremental ad revenue} = (\text{New CTR} - \text{Old CTR}) \times \text{Impressions} \times \text{Conversion after click} \times \text{AOV} ]
Keep the first pass simple and focus on PDP conversion lift. Add ad and marketplace lift once you prove the signal on core traffic.
Map Direct Production Costs
You cannot argue product image ROI if you do not know your per image cost end to end. That includes shoot, post, and operational handling.
Include:
- Photographer and stylist cost per image
- Model or virtual models cost allocation per image
- Studio and gear amortization per image
- Retouching and QC per image
- Asset management overhead per image, such as ingest, naming, and upload
For hybrid AI plus human pipelines, split:
- AI generation or AI first pass retouch cost per image
- Human refinement and QC loops cost per image
Then compute:
[ \text{Incremental imaging cost} = \text{New cost per image} - \text{Old cost per image} ]
If an AI first pass reduces retouching minutes per image but adds LoRA training overhead or extra QC passes, that needs to be in the model. Treat subscription tools as time multipliers, not as zero cost magic.
Include Return Reduction Value
Return reduction is where upgraded photography quietly pays for much of your imaging upgrade.
Focus only on return reasons that are image related:
- Color not as described
- Fit or length not as expected, especially with poor texture mapping or distorted ghost mannequin renders
- Fabric or finish looks different in real life
- Wrong perception of shine for jewelry or hardware
Quantify per SKU:
[ \text{Image driven return rate} = \frac{\text{Returns with image related reasons}}{\text{Total orders}} ]
Then estimate:
[ \text{Return reduction value} = (\text{Old return rate} - \text{New return rate}) \times \text{Orders} \times \text{Contribution margin per order} ]
This component is often significant for apparel, footwear, and jewelry, where weak imagery misrepresents drape, volume, and materials.
Product Image ROI Starts With Baselines
You cannot claim lift without a baseline. Your current state, even if flawed, is the control that every ROI argument depends on.
Baseline means “for these SKUs, before the new image spec, this was the commercial performance over a defined period.”
Track Conversion By SKU
For catalog businesses, averaging conversion across categories hides too much. Track at the SKU level with at least:
- Sessions to PDP
- Units sold
- Conversion rate
- Add to cart rate
- Exit rate from PDP
Use a stable pre period, for example, 4 to 8 weeks of normal trading without heavy promotions. The exact period matters less than consistency and clean data.
Once you standardize a test calendar, you can normalize for outliers. If a celebrity wears a SKU and it spikes traffic, exclude those weeks from your baseline for that SKU.
Compare Return Reasons
Generic return rate does not help you prove image ROI. Reasons do.
Group return reasons into:
- Image related, for example, color, perceived material, perceived fit, pattern scale, shine
- Non image related, for example, shipping, wrong size ordered, damaged, changed mind
Then calculate:
- Image related return rate per SKU
- Average contribution loss per image related return
When you upgrade photography, you want image related reasons to shrink while non image reasons stay flat. That differential is hard evidence that improved retouching or lighting precision is paying back.
Segment Mobile And Desktop
Your product image ROI can differ by device because viewing conditions vary.
On mobile:
- Smaller thumbnails punish poor primary images
- Zoom and alternate angles matter more
- Lazy loading and asset weight affect bounce
On desktop:
- Larger PDP carousels reward richer storytelling
- Tight crops reveal post-production sloppiness
- Customers inspect fabric, stitching, and edges more closely
Baseline conversion and return metrics by device. You may find that upgraded main images drive the bulk of lift on mobile, while alternate and detail shots drive lift on desktop.
Product Image ROI Across Channels
If you only look at the PDP, you undercount the value of better product images. Catalog businesses distribute the same assets into paid media, marketplaces, email, and retail tools.
Track product image ROI separately by channel so you understand where the returns are strongest.
Measure PDP Conversion Lift
Start with your own site. For each test group that received upgraded photography or retouching:
- Keep pricing and promotions constant across control and variant
- Use a clean pre and post period, or run an A/B test if your stack supports it
- Control for traffic source where possible
Key metrics:
- Conversion rate
- Add to cart rate
- Image gallery engagement, such as swipes, zoom, alternate views clicked
- PDP bounce rate
If your visual upgrades include better ghost mannequin execution, less plastic skin under studio lighting, and more accurate colorways, expect to see higher add to cart rates and stronger image interaction.
Measure CTR In Ads
Ads reveal how much your primary images contribute to click volume. Even modest CTR lifts can drive significant revenue at scale.
For static image ads or catalog feeds:
- Create two asset sets, current quality versus upgraded
- Keep copy, offer, and targeting identical
- Rotate both sets evenly across the same period
Measure:
- CTR
- Cost per click
- Conversion rate after click
- Return on ad spend
If your upgrades include clean clipping paths, better background consistency, and corrected reflections for accessories, you should see more predictable performance across audience cohorts.
Measure Marketplace Search Lift
Marketplaces penalize poor imagery algorithmically and behaviorally. Better images increase click through from search and category shelves.
Track per SKU:
- Search impressions
- Click through rate from search or category pages
- Conversion rate on marketplace PDP
Some marketplaces reward higher engagement with more impressions. That means product image ROI appears as both better CTR and expanded visibility. Treat the incremental impressions as a secondary benefit layered on top of your conversion gains.
Build A Reliable Product Image ROI Formula
A product image ROI model fails if it confuses correlation with causation. Your job as a studio or ecommerce lead is to isolate visual changes as cleanly as possible.
You do not need academic purity. You need a method that your finance and performance marketing partners will accept without hesitation.
Use One Control Variable
Each test cycle should change only one meaningful element of the image spec.
Examples:
- Lighting quality upgrade only, same framing and model
- Retouching standard upgrade only, same lighting and composition
- Introduction of AI generated model shots, same base product image and color
If you change lighting, styling, model, and background at the same time, you may get lift, but your ROI argument will be vague. Start narrow, expand once you have one or two clear success stories.
Account For Seasonality
Seasonality and trading cycles can overwhelm image driven effects. Ignore this and your ROI story collapses under scrutiny.
Mitigation options:
- Use A/B or geo split testing where your tooling allows
- Run tests for enough weeks to include at least one full cycle of your normal traffic pattern
- Compare like for like weeks year over year where you have consistent promotions
If your catalog is heavily seasonal, cluster tests around evergreen SKUs first. You want stable demand so that photography changes are easier to isolate.
Separate Traffic From Creative
Better images will not rescue fundamentally low intent traffic. If you pump in broad upper funnel media during the test window, expect conversion volatility.
Track for each SKU or group:
- Session volume by source
- Conversion rate by source
- Any changes in paid traffic mix during the test period
If you see a conversion dip coinciding with a major traffic source change, do not blame the new imagery. Re baseline for that channel or rerun the test later on a cleaner traffic profile.
Where Product Image Quality Pays Back
Upgraded photography and retouching generate value in three main ways. They drive more visits into the PDP, convert more of those visits, and reduce misaligned expectations that lead to returns.
You need to make each thread explicit in your ROI calculations.
Improve Primary Image CTR
Your primary image is an ad in every grid, search result, PLP, and marketplace shelf. If you want quick product image ROI, start here.
Drivers of CTR lift:
- Clear silhouette and pose for apparel
- Clean background with consistent crop ratios
- Accurate color and contrast without crushed shadows
- Realistic texture for knitwear, leather, and metallics
Even basic fixes, like correcting ghost mannequin shoulder distortions or eliminating halo edges from loose clipping paths, increase trust in the thumbnail. More trust means more clicks and larger top of funnel volume to monetize.
Reduce “Not As Described” Returns
Returns due to expectation mismatch are partially your photography bill in disguise and sit directly in your ROI equation.
Common failure modes:
- Jewelry reflections hallucinated by AI tools, creating mirror worlds that never exist in hand
- Shiny fabrics rendered as plastic under hard studio lighting
- Texture mapping irregularities on virtual models, especially along seams and hems
- Inconsistent color rendering across batches, especially across colorways of the same style
Improved lighting control, calibrated monitors, and disciplined retouching standards reduce those gaps. The reduction in image driven returns should be measured and rolled back into your product image ROI model as incremental profit.
Increase Time On Page
Time on PDP is not the target. It is a proxy for engagement quality that sits upstream of conversion.
High performing galleries tend to:
- Provide clear front, back, side, and detail shots
- Offer consistent ghost mannequin treatments without neck or shoulder glitches
- Use on body shots that communicate drape, volume, and fabric behavior under movement
- Maintain consistent skin tones and backgrounds across collections
When you upgrade these aspects, image gallery engagement usually rises. If your analytics stack captures per frame interactions, you can tie specific shot types directly to downstream conversion and then assign ROI weight by frame.
Use The AI Plus Human Model For Product Image ROI
“AI creation plus human perfection” is not a slogan, it is the only configuration that respects both speed to market and catalog scale consistency right now.
AI tools give you acceleration. Humans give you guardrails, especially as SKU counts rise.
Use AI For First Pass Speed
Generative tools like Midjourney, Stable Diffusion, Imagen 3, Flux Pro, or Runway Gen 4 are effective for:
- Generating on model scenes from flat lay or ghost mannequin inputs
- Creating new background variants around existing product cutouts
- Producing additional viewing angles where the underlying 3D is stable
With LoRA training or fine tuning, you can teach these systems your brand’s posing language, lighting flavor, and surface style. For simple textiles and footwear, AI first passes can reduce manual retouching time significantly and lower per image labor cost.
However, AI outputs need constraints. Jewelry, complex prints, and tailored seams expose instability quickly and can harm ROI if pushed live without inspection.
Use Humans For Color QC
Color is where product image ROI is often won or lost. Customers tolerate minor composition differences, but they do not tolerate ordering “midnight navy” and receiving murky grey.
Human QC remains essential for:
- Exact color matching against fabric swatches or physical samples
- Cross batch color consistency between studio days and vendors
- Black to near black detail retention under ecommerce compression
- Skin tone realism, especially across diverse models under artificial light
Automation can flag outliers by histogram or LAB values, yet only trained retouchers can correct subtle hue shifts caused by lenses, white balance drift, or AI hallucinations. That human layer converts raw AI speed into commercial reliability.
Standardize Product Image Outputs At Scale
Catalog operations depend on templates. A hybrid AI plus human model must deliver stable outputs, not just flashy samples.
Put in place:
- Fixed crop ratios and framing grids
- Pre defined angle sets by category
- Texture and detail standards for zoom levels
- Specific QC checks per category, for example, stitching visibility on denim, heel alignment on footwear
Pixofix, which operates with 200 plus retouchers across the US, EU, and Asia, uses standardized templates and QC checklists to process over 5 million images while maintaining consistent specs. That kind of scale is only practical because AI outputs are filtered through human QC loops that catch drift before delivery.
Why Product Image ROI Changes At Scale
Most AI imaging demonstrations look impressive because they focus on 1 to 10 hero images. Catalog production is not 1 to 10. It is 500 to 10,000 plus SKUs every month across multiple vendors and seasons.
At that scale, image quality problems compound and start to contaminate ROI.
Compare 10 Images To 10,000
At 10 images:
- You can manually clean up defects
- Small color inconsistencies go unnoticed
- Manual prompt tuning for each frame is feasible
At 10,000 images:
- Small per image defects turn into hundreds of visible errors
- Color drift across batches breaks category and campaign consistency
- Manual intervention on every AI failure removes the speed advantage
AI systems like Midjourney or Kling perform impressively for art direction and mood boards. When you need tight cropping discipline and reproducible outputs for thousands of SKUs, they become unreliable unless paired with expert human retouching and strict QC workflows tailored to catalog work.
Control Lighting Drift Across Batches
Lighting drift is subtle. Most customers do not articulate it, they just feel that a category page or marketplace looks messy or untrustworthy.
Drivers of drift include:
- Different photographers or capture teams using slightly different setups
- AI generated lighting reinterpreting prompts in unpredictable ways
- Post teams grading images differently on uncalibrated screens
For catalog consistency, you need tightly controlled Capture One profiles and studio grids, or an AI pipeline calibrated to your reference sets and then checked by humans. Pixofix, which runs 24 to 48 hour delivery SLAs for standard catalog batches, uses reference boards and human QC on every batch so that lighting remains stable even when capture sources vary.
Protect Brand Consistency Everywhere
Your product imagery now lives in:
- PDPs and PLPs
- Marketplaces and comparison engines
- Paid social, display, and generative video assets
- B2B tools, line sheets, and wholesale portals
Brand consistency is not just logos and typography. It is the sum of every product angle, shadow, and skin tone. AI tools are powerful, but they are inherently probabilistic and can drift over time. They are effective for ideation at 1 to 10 images, yet at 500 to 10,000 SKUs, color drift, lighting inconsistency, and garment distortion quickly erode trust and ROI unless corrected by humans.
This is why an AI first pass must be followed by human QC if you care about catalog scale product image ROI and brand equity at the same time.
Build A Product Image Workflow That Scales
You do not get product image ROI from tools alone. You get it from operational discipline that keeps speed and quality in balance.
Your workflow must support SLA adherence, predictable QC loops, and efficient exception handling that prevent post-production bottlenecks.
Create A Retouching Checklist
Checklists reduce rework. They also make ROI more predictable because they define what “upgraded quality” means in measurable terms.
Per category, define:
- Skin standards, for example, texture retention versus smoothing, shine control, blemish policy
- Garment standards, for example, wrinkle thresholds, hem straightness, label visibility
- Background and shadow rules, including clipping paths and drop shadow style
- Color and contrast targets, anchored to references or LAB values
Your QC team should use this checklist for sign off. If you are using AI first passes inside Photoshop or through Stable Diffusion pipelines, embed checklist prompts into the workflow so that operators know exactly what to inspect.
Route Edge Cases To Specialists
Not all SKUs are equal. Edge cases like high shine jewelry, patent leather, sequins, and transparent fabrics routinely break AI systems and junior retouchers.
Set up routing rules such as:
- All complex jewelry and reflective accessories go to senior retouchers
- Any AI generated output containing hands or fingers goes to manual review
- Sheer and lace garments are flagged for extra ghost mannequin scrutiny
- Any unusual artifacts in virtual models or texture mapping go to a specialist
This kind of routing is where scaled partners help. Pixofix, which routinely serves brands with 500 to 10,000 plus SKUs per month, routes complex assets to specialist pods while generic garments pass through standard AI plus human workflows, keeping both speed to market and quality stable across the catalog.
Set SLA And Approval Gates
SLA adherence is non negotiable for ecommerce. Upgraded photography that slows launches will fail any ROI review, no matter the lift.
Build gates into your production plan:
- Capture to first pass retouch SLA
- First pass to QC SLA
- QC fail to correction SLA
Track:
- Percentage of batches hitting each SLA
- QC pass rate per batch
- Average number of cycles per asset before approval
Approval gates should live as late as possible without blocking go live. For example, gate final color sign off at PDP publication, but allow preliminary assets to support internal merchandising previews so that trading teams are not delayed.
Product Image ROI Mistakes To Avoid
Product image ROI work fails more often due to experimental design than creative quality. Here are the most common traps and how to correct them.
Measuring During Promo Periods
Mistake → Running image tests during aggressive promotional events or sale weeks.
Consequence → Promotion effects swamp photography effects, so you misattribute lift to the wrong factor and overestimate ROI.
Fix → Run tests in steady periods with consistent pricing. If that is impossible, ensure that control and variant groups share identical promotional conditions and discount depth, then normalize results against historical promo performance.
Ignoring Return Reason Data
Mistake → Looking only at total return rate rather than reason codes tied to imagery.
Consequence → You miss the connection between poor color, distorted ghost mannequin images, or plastic skin retouching and expectation driven returns, which keeps ROI models incomplete.
Fix → Work with operations to structure return reason categories into image related and non image related groups. Monitor shifts in the image related cluster after upgrading your imagery and include the profit impact in your ROI calculations.
Testing Too Few SKUs
Mistake → Running tests on a handful of hero products and generalizing results to the whole catalog.
Consequence → Results are fragile and often skewed by outlier behavior, marketing exposure, or stock issues.
Fix → Test at the level of at least dozens, ideally hundreds, of SKUs across different categories, price points, and lifecycle stages. You want enough sample size that individual SKU anomalies do not dominate your ROI model.
Turn Insights Into Your Next Product Image Brief
Once you have product image ROI numbers, your photography and retouching brief should stop being opinion driven. It should start reading like a performance document.
Use your test learnings to upgrade standards and focus investment where it compounds.
Update Product Image Specs By Category
Not every category benefits from the same spec. For each major category:
- Define minimum angle count and priority views
- Refine ghost mannequin versus on model versus flat lay mix
- Set specific detail shot requirements, for example, zipper pull, inside lining, outsole
Tie these requirements to observed performance. If denim zoom shots correlate with higher conversion and lower “fit not as expected” returns, make them mandatory and budget time accordingly.
Prioritize High-Lift SKUs First
You will not refresh the entire catalog overnight. Prioritization increases product image ROI.
Target first:
- High traffic SKUs with mediocre conversion
- Products with above average image related return rates
- Evergreen styles where a one time upgrade pays back over multiple seasons
As your workflow stabilizes, push upgrades deeper into the long tail. Use AI creation only where human QC capacity exists to catch random errors, especially in complex garments or accessories that threaten returns.
Align Creative And Ecommerce Teams
Product image ROI sits at the intersection of creative ambition and commercial discipline. When creative, performance marketing, and ecommerce teams do not share the same KPIs, you get friction and inconsistent output.
Practical alignment steps:
- Agree on target metrics per test, for example, PDP conversion, CTR, or return reduction
- Involve creative direction in defining what “commercially effective” means beyond raw metrics
- Share ROI results back to studio teams so they see the impact of their decisions and refine their craft
The outcome should be briefs that satisfy brand storytelling while still optimizing for measurable SKU level performance, so future investments in photography and retouching have a clear financial narrative.


.png)
.png)