.png)

How to Turn Product Photos Into a 3D Model (and When It Pays Off)
There are four ways to turn product photos into a 3D model: scan the product, rebuild it from overlapping photos, have an artist build it from photos and specs, or let AI infer a shape from one image. Which one works depends mostly on the product. Reflective, transparent, or thin parts defeat capture-based methods, and one photo leaves the hidden sides to guesswork. Whether it pays off depends on how many images and formats a product will need over its life. This guide covers the routes, what to send, how a model is built, and how I would decide.
Four Routes From Photos to a 3D Model
Shopify's guide to 3D ecommerce lists the main ways to get a product model. 3D scanning maps the surface of the physical product with light. Photogrammetry feeds photos taken from many angles into software that converts them into a model. 3D design has an artist build the model from specs, images, or prototypes, without measuring an existing object. Shopify's own iOS scanner blends the first two, building models from phone video.
Apple's documentation for its Object Capture framework explains why photogrammetry is fussy. The software analyzes the overlap between photos to match landmarks, then builds a model of the photographed object, so photos need heavy overlap and consistent camera settings.
The fourth route works from a single image. Research on single-image reconstruction describes that task as under-constrained, because one view cannot show the other sides. The model fills them in from patterns learned on large image collections, so hidden sides are a plausible guess and not a measurement. That research is from 2023 and the tools keep improving, but the underlying limit is the same.
The table lines the four routes up. The last column is my judgment.
What to Send, and What Changes the Timeline
For a finished product, we ask for photos. For something still in development, we ask for a sketch and specs. Either is enough for our team to start.
More helps. Shopify's guide for people who build merchant models says reference photos from several angles let a modeler see every component and avoid working only from written measurements, and it names disproportionate components as a common reason merchants reject a model. A useful package includes:
- Photos of the product from several angles, including hardware and closures
- Dimensions in real units, because a model has to match the real product's scale
- Notes on finish: how reflective, glossy, or transparent each part is
- Color and variant lists, if one model will carry several colorways
The same Shopify guide lists what drives modeling time: model complexity, texture complexity, the number of variants, how accurate your dimensions are, and the quality and quantity of your photos. Send sharp photos that you have the rights to use.
How a Model Gets Built: One Headphone Project
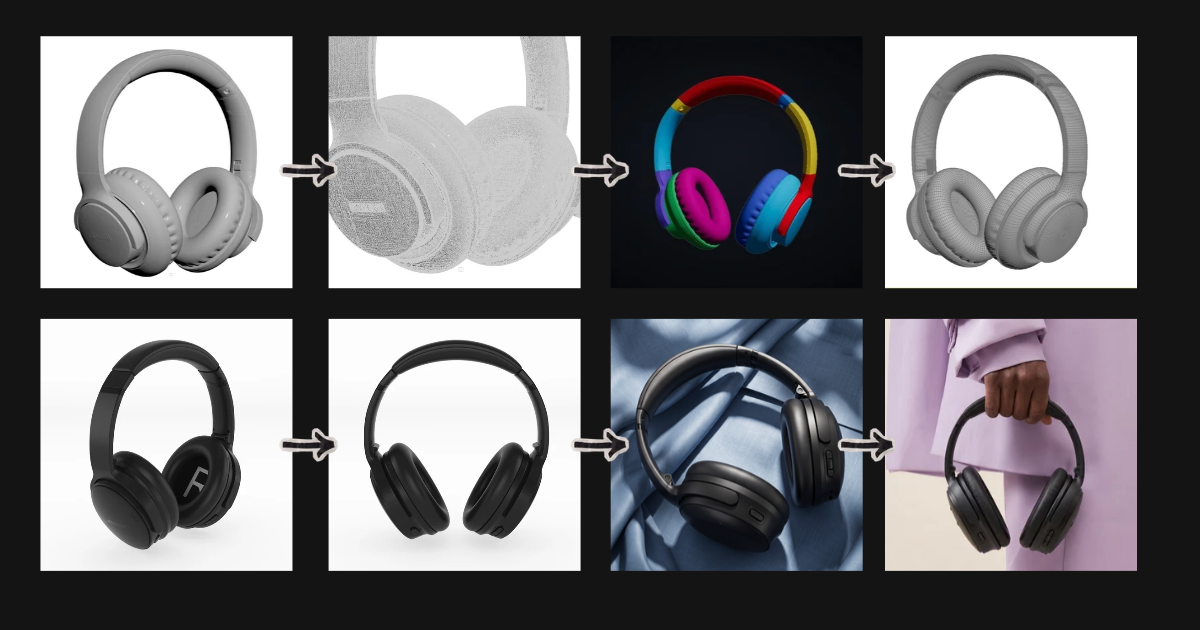
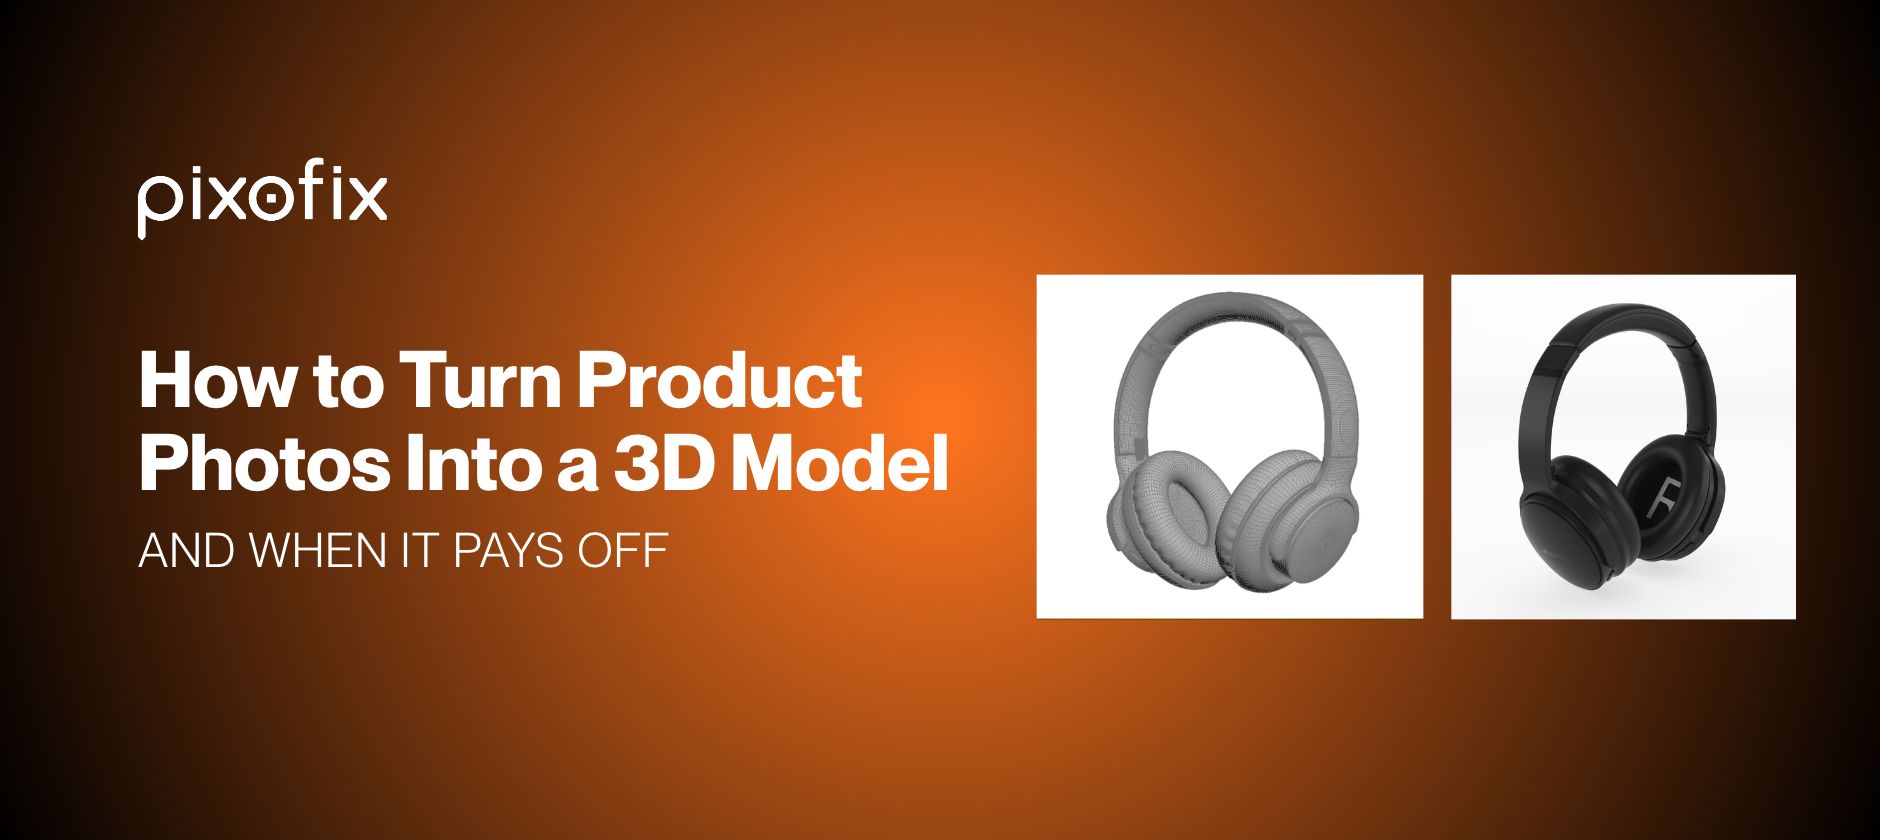
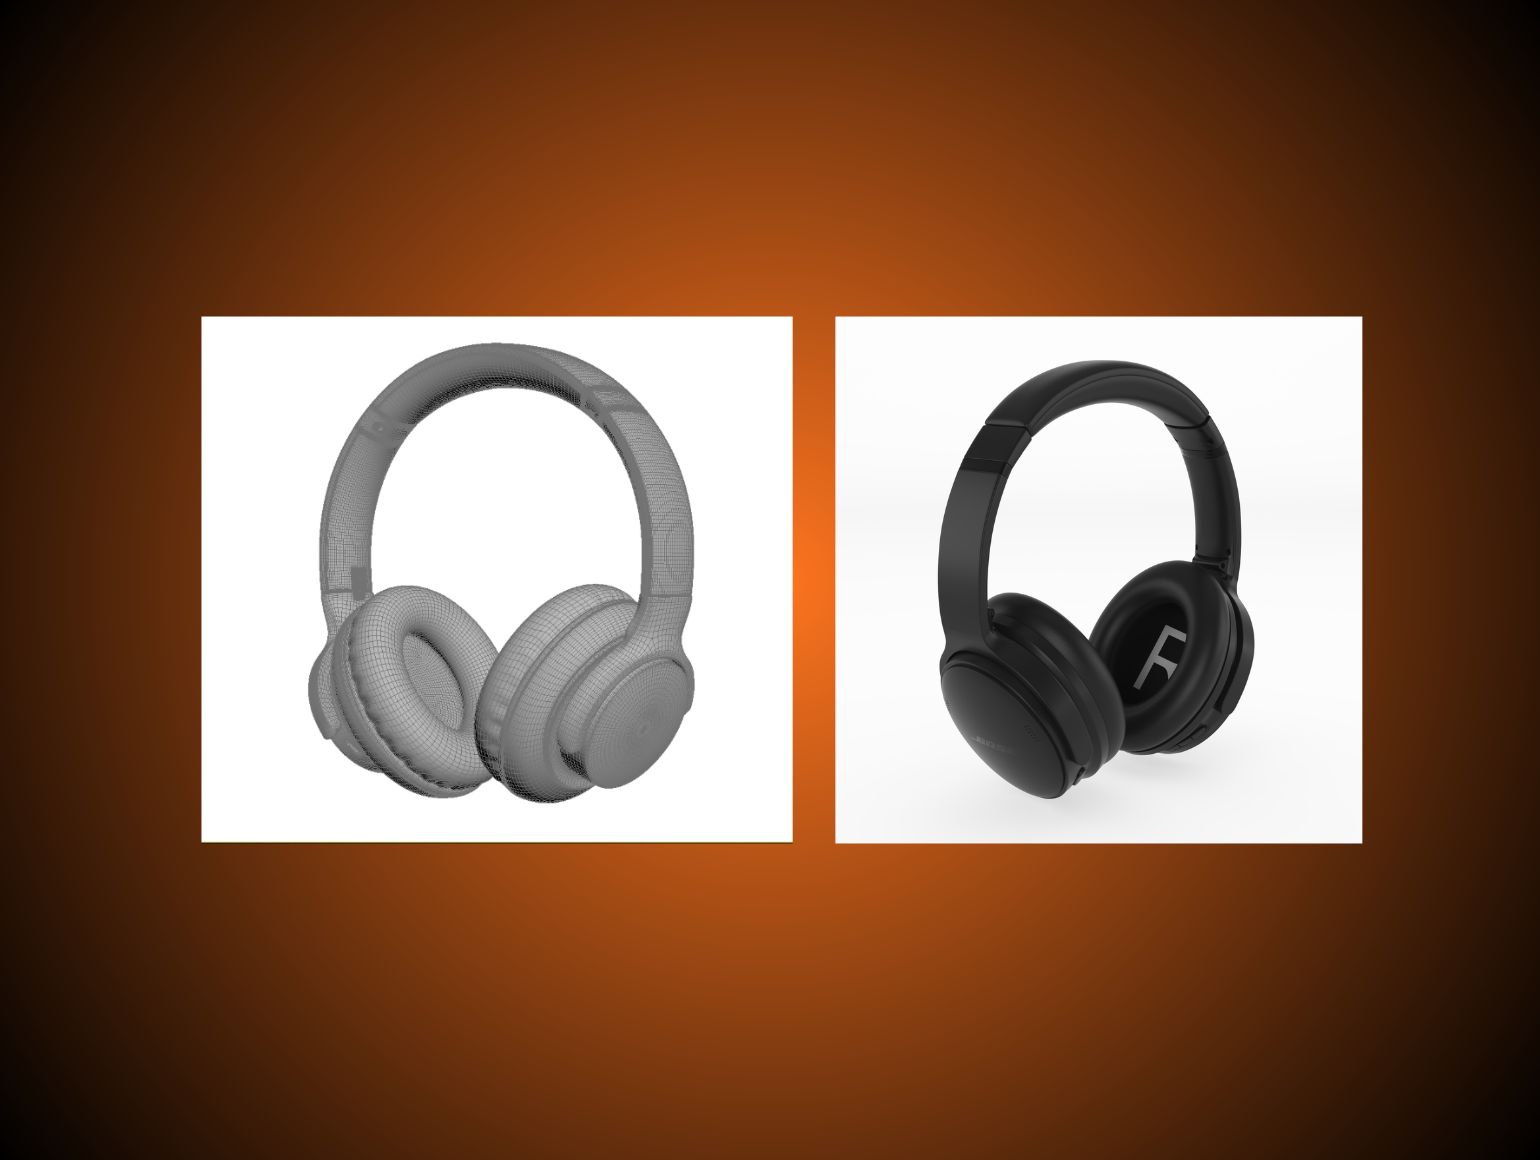
On one headphone project at Pixofix, the first step was an AI-generated base mesh made from product reference. The raw export landed at about a million triangles with dense, disorganized geometry and poor edge flow. It read correctly as a shape, but it was too heavy and messy to texture or edit.
The next step was segmentation. We split the model into its logical parts (headband, sliders, hinges, ear-cup housings, and cushions) so each could be cleaned up on its own, with hard edges kept where parts meet and soft forms kept smooth. Then an artist rebuilt it with clean, quad-based geometry. The count dropped to about 143,000 polygons, roughly 86% fewer than the raw export, and the model was ready for UV unwrapping, texturing, rendering, and real-time use.
The whole job took about 12 hours with AI in the loop. We estimate the same model would take 28 to 32 hours by hand. That compares two ways of building one model, and it is not a benchmark. The 86% figure compares the final model with the raw AI export, not with a hand-built one.
This is the process behind our 3D product rendering service: AI generates the initial form, and our team rebuilds it into production-ready geometry that is checked by hand before it becomes your baseline.
Which Products Are Good 3D Candidates
I use three questions.
Does the product have structure a buyer will zoom into? Our service page names the details: seams, buttons, ports, and hinges on electronics; stitching, sole texture, and logo placement on footwear; frame geometry and hinges on eyewear; hardware and leather grain on bags; labels and caps on packaged goods.
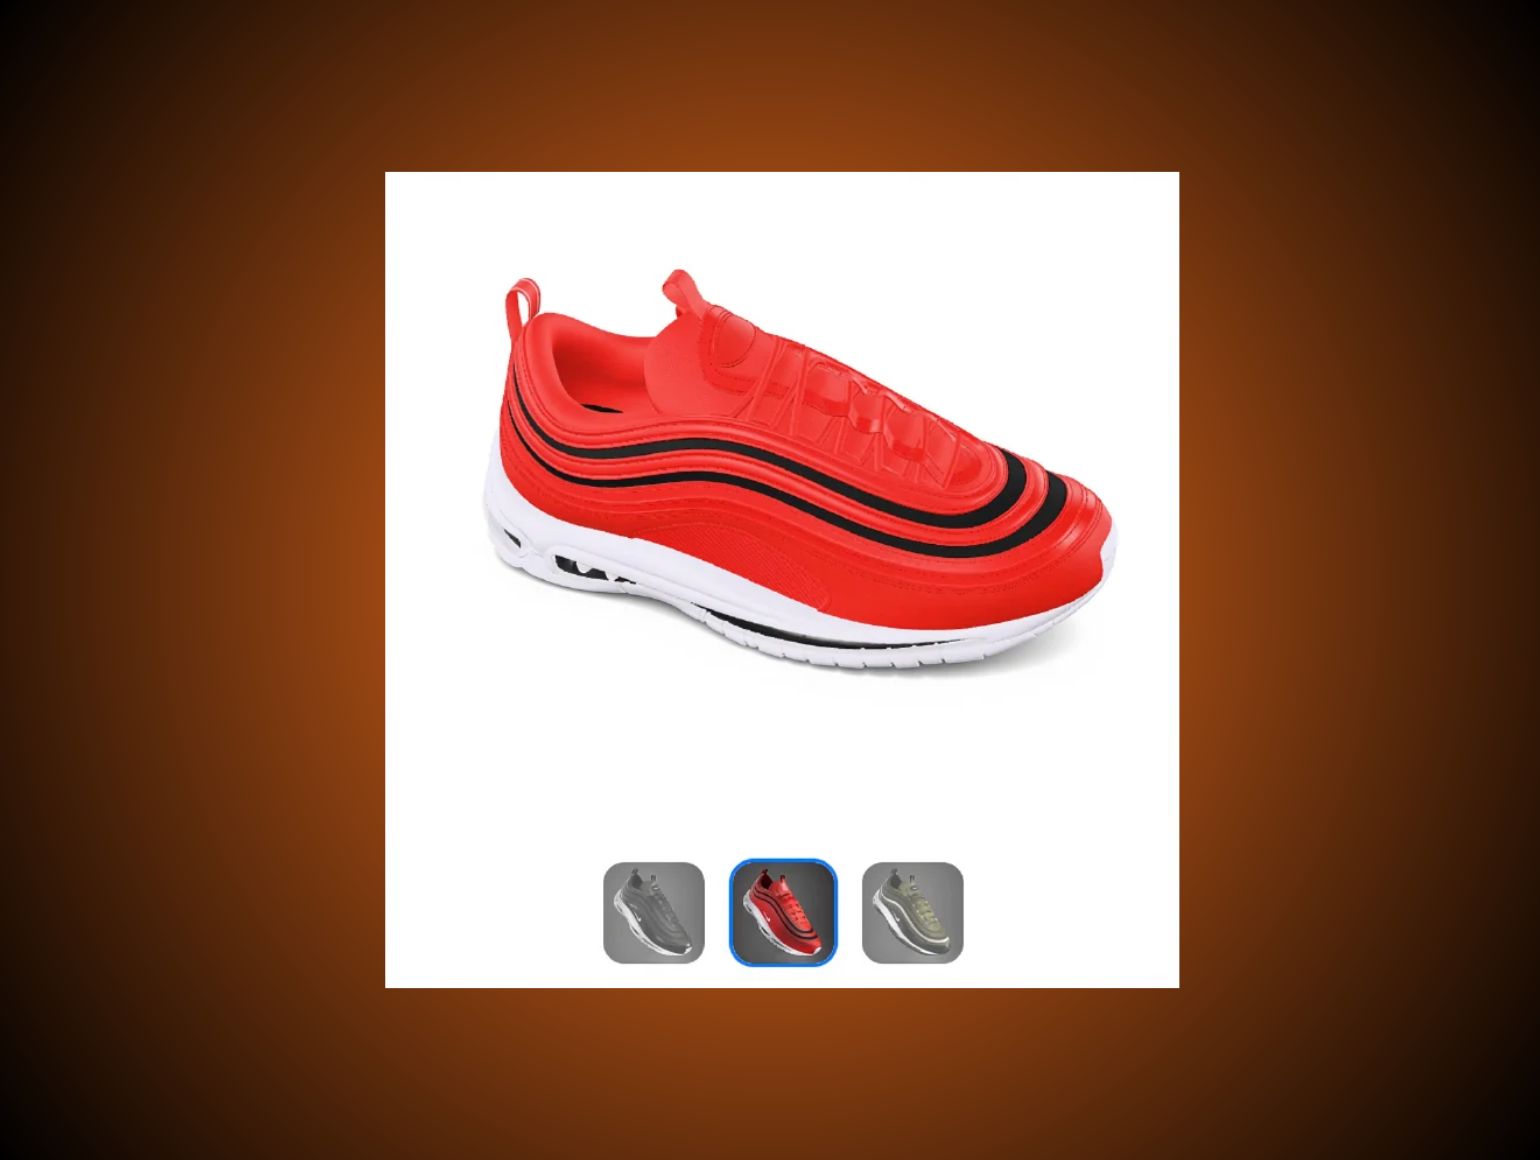
Will one product need many outputs? A model built once holds across colorways and drops, and it can feed product page stills, 360 spins, lifestyle scenes, and video.
Would capture-based methods struggle with it? Apple's guidance lists reflective, transparent, translucent, very thin, deformable, and very smooth objects as problem cases for photogrammetry. Glossy finishes and clear lenses are exactly where an artist-built model earns its place.
Apparel is the usual exception. A garment's shape depends on the body and the fabric, and Apple warns that objects that change shape can make capture fail. Modeling soft goods by hand adds its own work. At Pixofix, we generally steer clothing toward AI production built from flat-lays, ghost mannequin shots, or on-model photos through our AI PDP service, and keep 3D for structurally complex pieces such as intricate runway garments.
If you need one image of one product, photography is usually simpler, and our comparison of 3D rendering and photography covers when each wins. If shoppers should be able to change materials or colors themselves, that is a configurator question, which we cover in 3D configurators versus a rendering partner.
Is It Worth It? A Break-Even Check
No neutral dataset settles this. Shopify's January 2024 guide puts a designer-built model at about $40 to $200 for a simple product and more than $1,000 for a detailed one, and Shopify's 2026 pricing guide puts a finished product photo at $50 to $350. Those ranges are wide, so use your own quotes in this check:
3D pays off when the model cost, plus the cost of each extra output, is lower than the number of images you need multiplied by the cost per photo.
Here is the arithmetic with hypothetical numbers. Suppose a model costs $500, each additional render costs $100, and each photo costs $200. The two options cost the same at five images, and the model is cheaper beyond that. These figures are illustrations, not benchmarks.
The formula misses two things. A model built once can feed stills, spins, lifestyle scenes, and video, and it can exist before a physical sample does. I count formats, not only images: five colorways in four formats is twenty outputs from one model.
What to Check Before You Accept a Model
Shopify's modeling standards for merchants make a usable review list. The model should look like the reference photos and match the real product's scale. Components should be in proportion, and materials should have the right reflectivity, gloss, and transparency. Geometry should be sealed and quad-based, textures sharp, and the file a GLB of around 4 MB for storefront use. Shopify also asks the modeler and the merchant to review the model together before it is approved.
If you can, place the model next to the real product in AR. Shopify says the two should be the same size. At Pixofix, the delivered model and its files are yours.
Where This Leaves You
If your product is hardware-heavy, will need many outputs, or cannot be captured cleanly, I would price a model against the full list of images and formats before booking another shoot. If you need one image, or you sell clothing, I would not start with 3D.
To see what a model of your own product looks like, book a call with our 3D team. We start with a paid pilot on one product, not a free trial.


.png)
.png)
