.png)


Flat Lay Photography for Fashion: Setup, Styling & Post-Production Guide
You've Chosen Flat Lay. Here's How to Execute It Well
If you're still weighing flat lay against ghost mannequin or on-model photography, I cover that comparison in my ghost mannequin vs. on-model breakdown, including where each format wins. This piece starts after that decision is made.
Flat lay earns its place in a catalog because it's fast, needs no model or mannequin, and produces a consistent product shot with a fraction of the production complexity of an on-model shoot. The trade-off is that every mistake in styling, lighting, or camera angle shows up immediately, since there's nothing else in the frame to distract from it.
What follows covers styling principles, lighting for even coverage, camera consistency across a full shoot, and the post-production work that keeps hundreds of SKUs looking like they came from the same set.
Styling Principles: Folding, Layering, and Negative Space
Good flat lay styling starts before the camera comes out. Steam or press every garment right before shooting. Wrinkles that are invisible on a hanger show up clearly under overhead light and a sharp sensor, and a flat lay has no other detail in the frame to distract from a crease.
Most of the actual styling work is invisible. A small piece of tape holds a collar in position. Tissue paper rolled into a sleeve gives it the shape of an arm without one being there. Small pins, placed where the lens won't catch them, control a stubborn cuff or hem. According to one fashion flat lay styling guide, the goal is for the garment to look like it simply fell into place, when every fold is actually deliberate.
Layering adds depth without adding clutter. Build outward from the hero item: larger pieces near the center, smaller ones toward the edges, with slight overlap between them rather than everything sitting flush. This creates a natural visual hierarchy instead of a flat grid of objects.
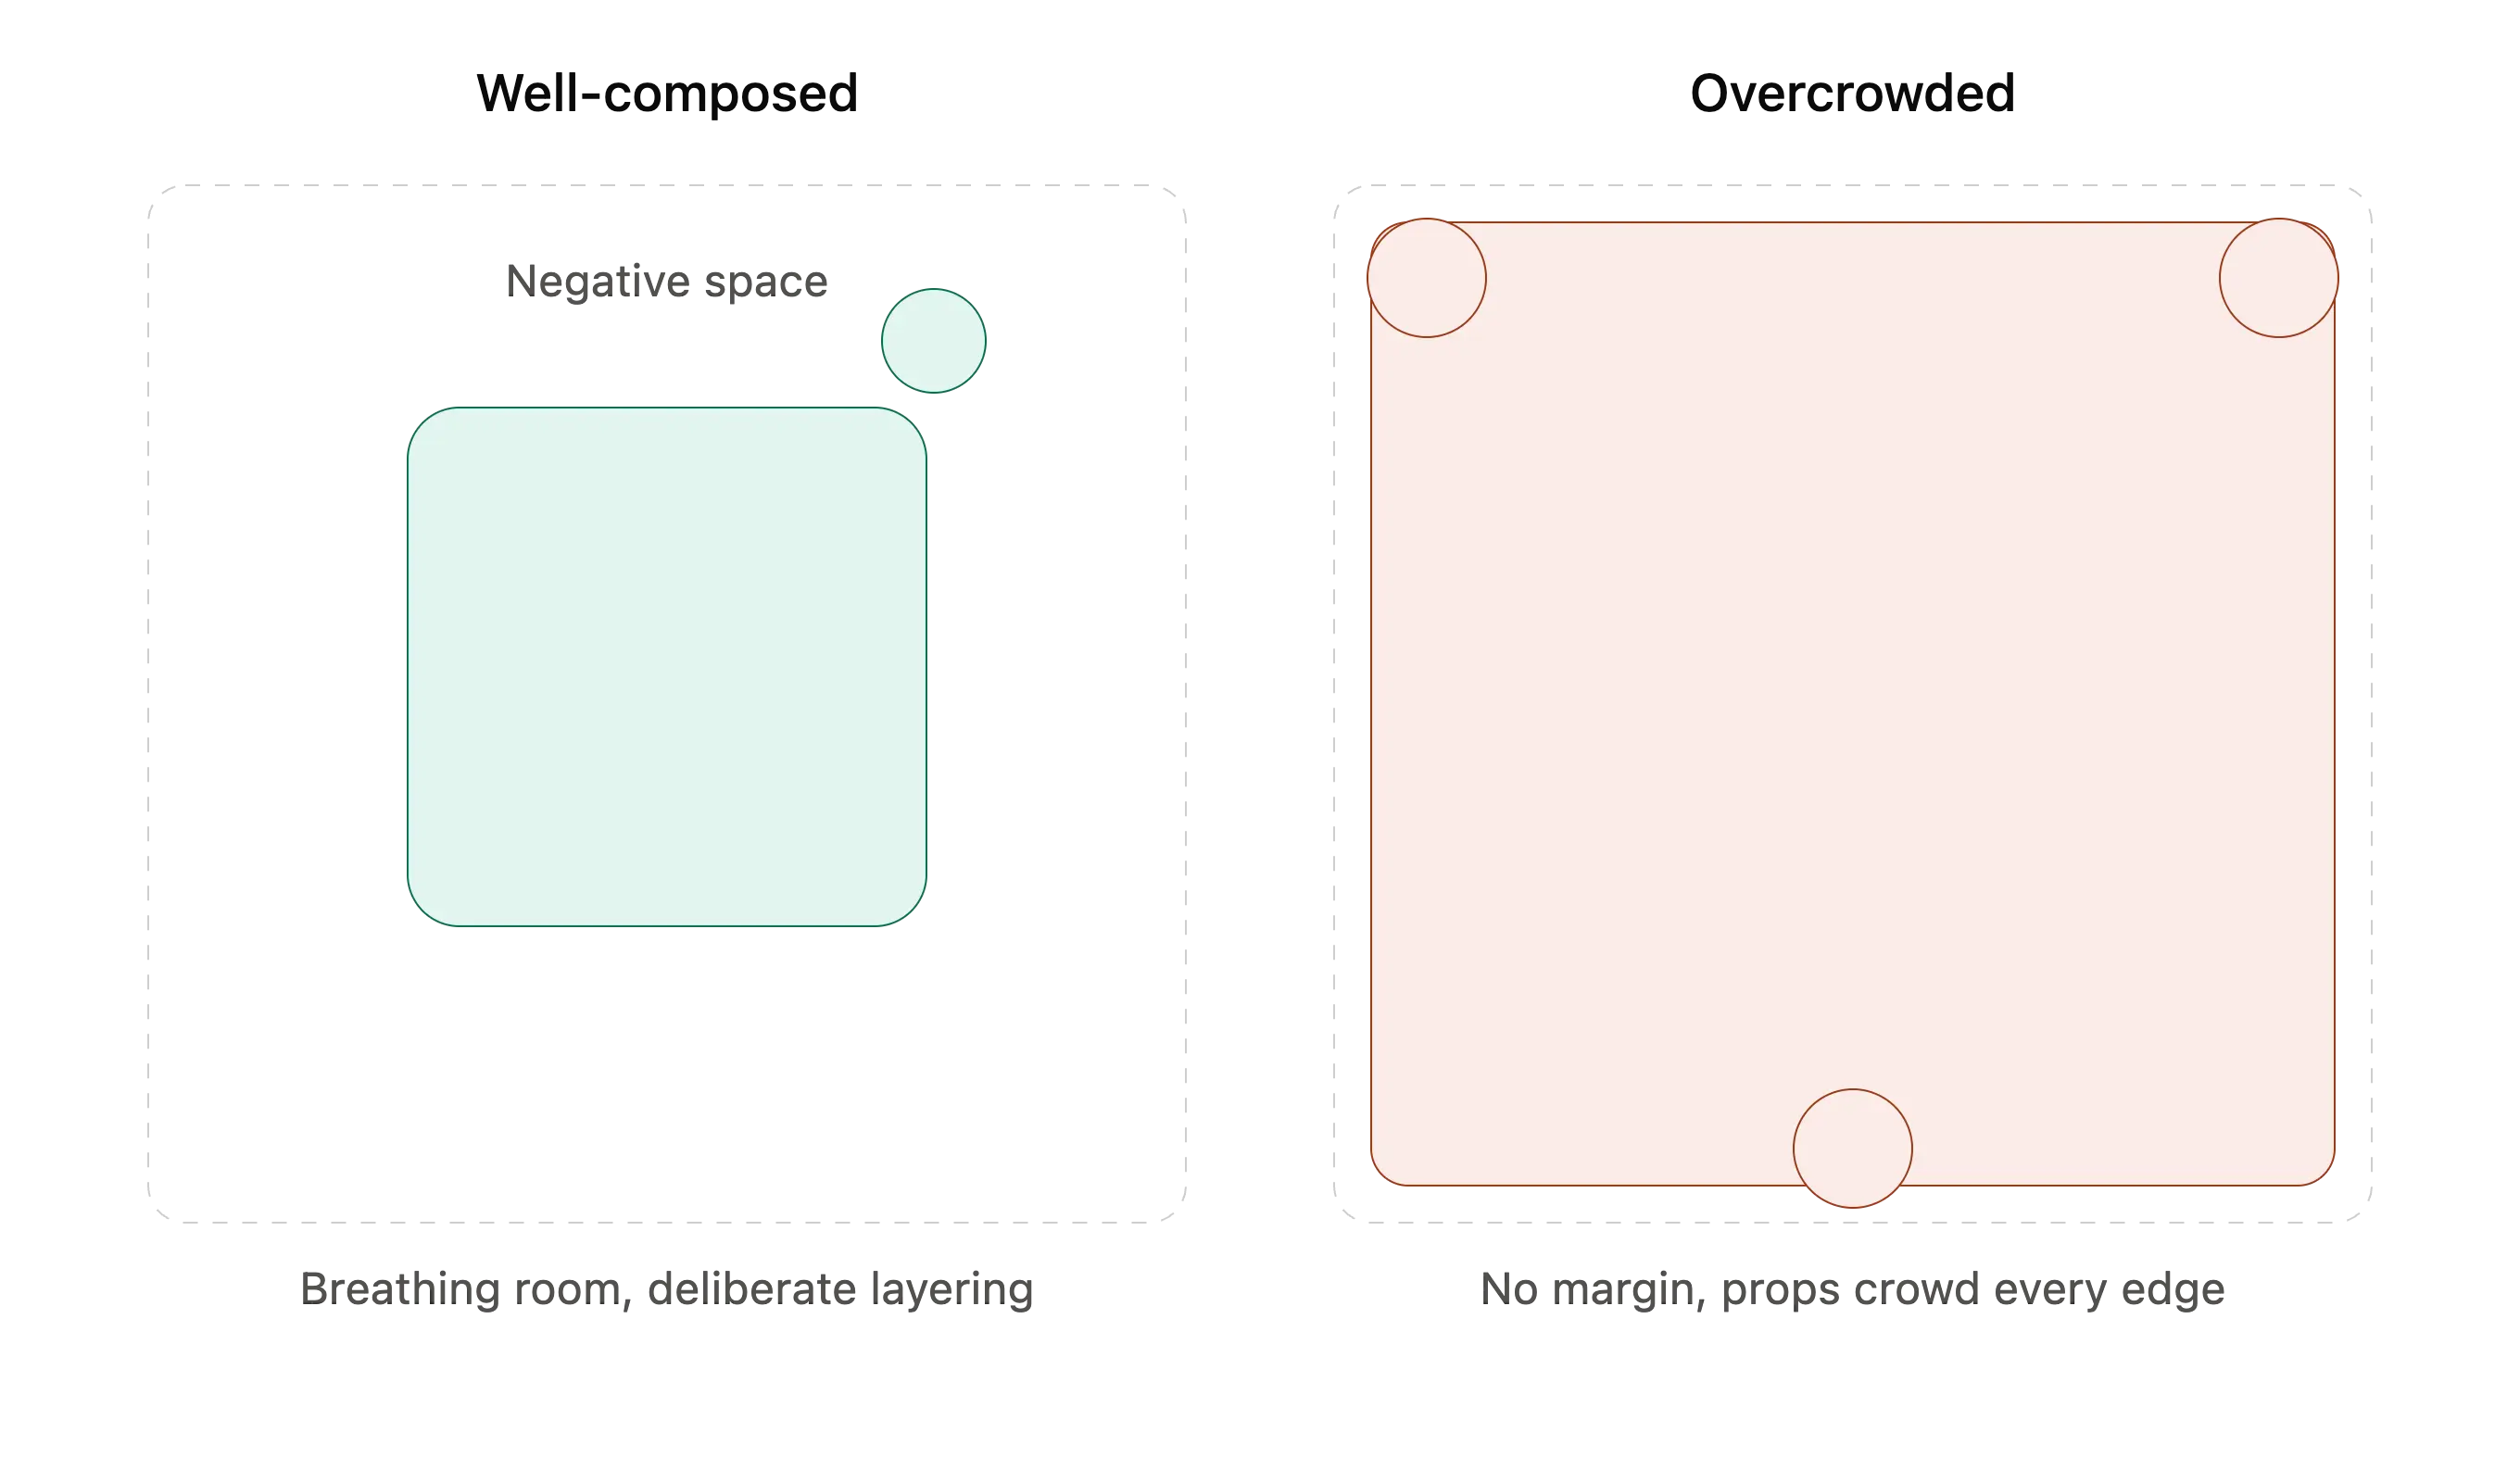
Negative space is the part beginners skip and shouldn't. Leaving real breathing room around the garment reads as intentional and editorial rather than crowded. If a composition feels busy, the fix is usually to remove one prop, not add a better one.
Equipment for a Consistent Setup
You don't need a studio to get consistent flat lay results, but a few pieces of equipment make consistency easier to hold across a full shoot.
A camera on a tripod with a horizontal arm or boom, rather than handheld, is the biggest factor. It keeps framing and distance identical from one product to the next, which matters most once you're moving through a real batch rather than a handful of hero shots. A 50mm, 85mm, or 135mm lens is a better choice than a wide angle: longer focal lengths compress the scene and keep items near the edges of the frame from looking stretched or distorted relative to the center.
For the surface, a single seamless material, paper, fabric, or a painted board, sets the tone for the whole shoot and should stay consistent across the catalog rather than changing between sessions. A basic reflector, even a piece of white foam board, rounds out a minimal but functional kit.
The table below compares a budget setup against a premium one across the pieces of gear that matter most.
Lighting for Even Coverage Without Shadow Buildup
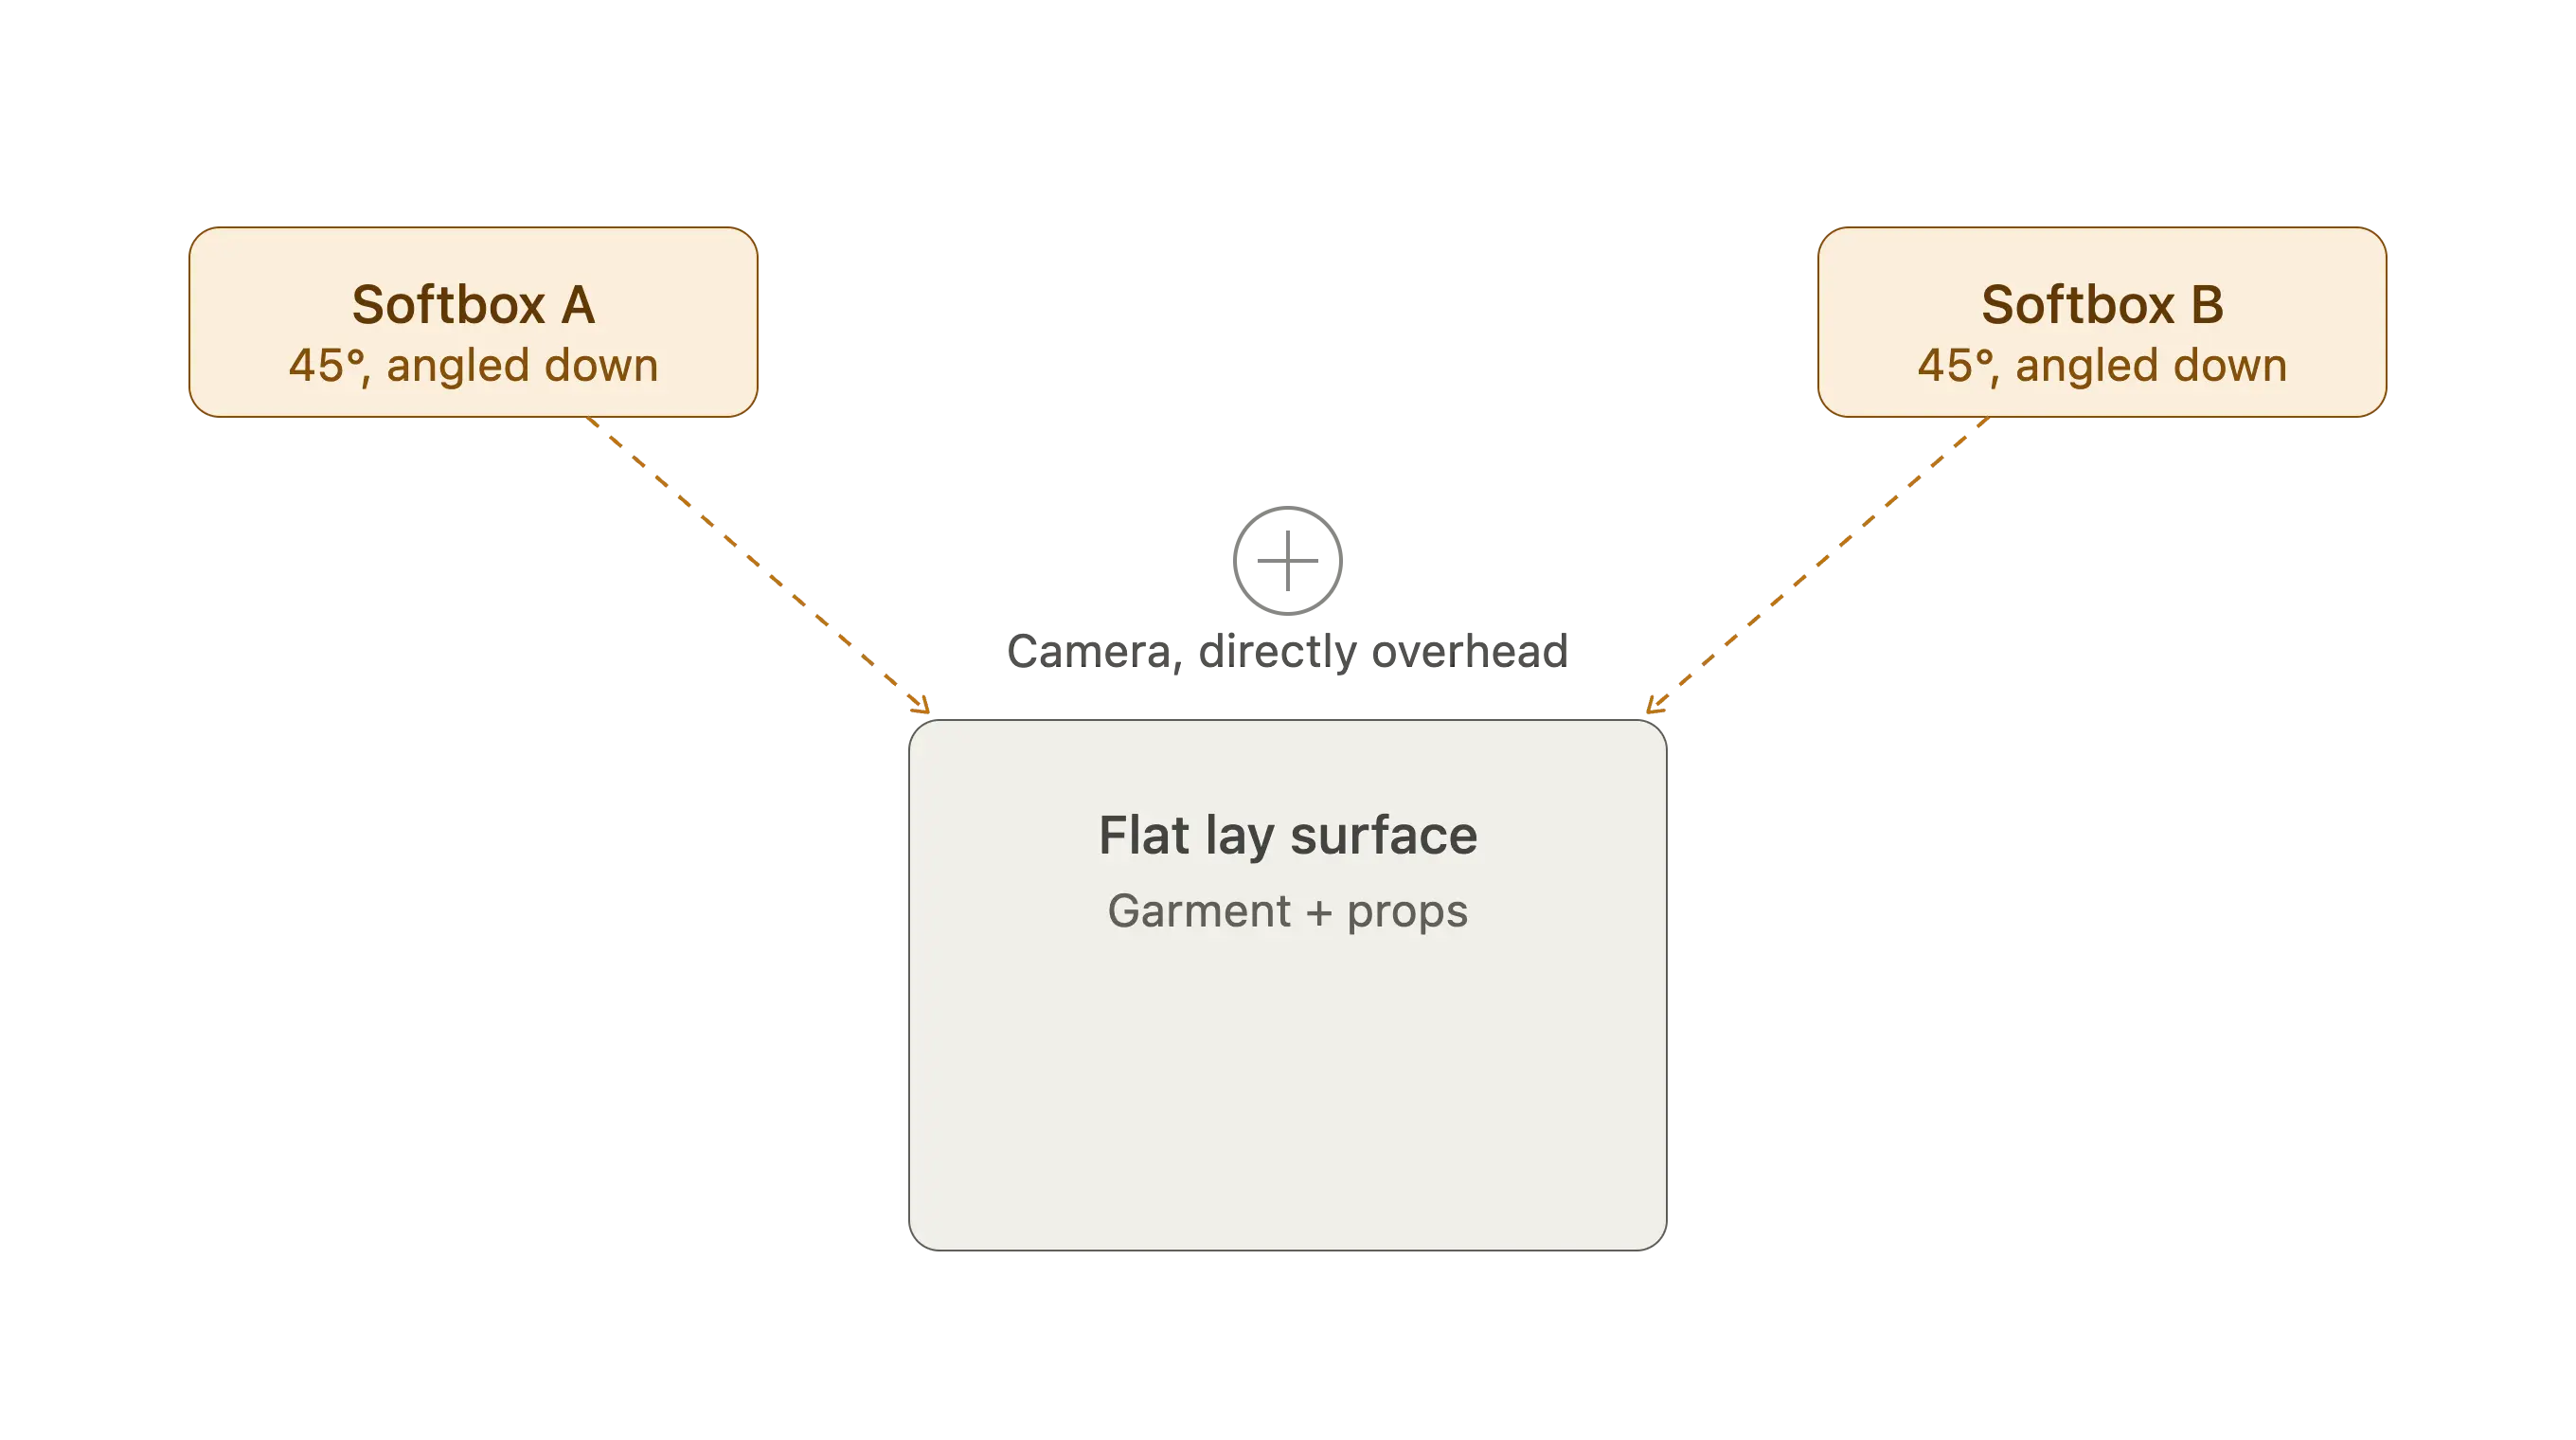
The most reliable flat lay lighting setup uses two softboxes positioned at roughly 45 degrees on opposite sides of the surface, both angled slightly downward. Keep the power equal on both sides for even coverage, or drop one side slightly if you want a touch of dimension rather than completely flat light. For color accuracy, aim for a color temperature around 5000-5500K, daylight balanced, according to Lars Miller Media's flat lay lighting guide.
If you're working with a single light, a softbox on one side plus a white reflector or foam board on the opposite side does most of the same job. The reflector doesn't add a new light source, it bounces existing light back into the shadows, softening them without flattening the image entirely.
Shadow buildup is the most common lighting problem in flat lay work, especially once you're layering multiple items at different heights. A few things reduce it:
- Keep your primary light source larger and closer to the surface, since a bigger, nearer light source produces softer shadow edges
- Position taller items further from the light source than shorter ones, so their shadows don't fall across the rest of the composition
- If you want a genuinely shadowless result, boards or diffusion material on all sides of the set, sometimes called a closed set, block cross-shadows more effectively than a single reflector
One detail specific to the overhead angle: watch for your own shadow, or the camera's, falling into the frame. Position your lights to the sides rather than behind you, and check the corners of the frame before committing to a shot.
Camera Angle and Shot Consistency Across a Shoot
The defining technical requirement of flat lay photography is a true 90-degree overhead angle, with the camera sensor perfectly parallel to the surface below. Even a small tilt introduces distortion: squares read as trapezoids, circles read as ovals, and the whole composition looks unintentionally skewed. A bubble level, either on the tripod head or built into the camera, is the simplest way to check this before every shot rather than trusting it by eye.
Distortion is the single-shot problem. Consistency is the full-shoot problem, and it matters more the longer the shoot runs. If your camera distance or angle drifts even slightly between product ten and product two hundred, the catalog stops looking like it came from one session. An overhead rig or a tripod with a locked horizontal arm solves most of this by removing the guesswork: once the position is set, it stays set until you deliberately change it.
A few habits help hold that consistency across a longer shoot:
- Lock your framing distance and stick to it rather than adjusting zoom or camera height between products
- Review your first frame at full zoom before moving through the rest of the batch, checking for wrinkles, dust, or a slightly off angle that would otherwise repeat across every shot that follows
- If you're shooting with a client or creative director reviewing on set, tethering your camera to a laptop or tablet catches framing or styling issues immediately rather than after the fact, when a reshoot becomes the only fix
None of this needs to be expensive. It needs to be repeatable, which is really the whole point of choosing flat lay in the first place.
Post-Production: Straightening, Wrinkle Removal, and Color Accuracy at Volume
Even a well-shot flat lay usually needs some post-production before it's ready for a product page. Dust, stray threads, and small wrinkles that didn't show up in the moment often become visible once you're looking at the file at full size. The standard fix is a healing brush or clone stamp tool, worked at low opacity, roughly 20 to 40 percent, and built up gradually rather than corrected in one pass. High opacity in a single stroke tends to remove fabric texture along with the flaw, which is its own problem: a garment that's been over-smoothed stops looking like fabric.
Frequency separation is the technique most retouchers reach for when color and texture need to be handled independently, splitting an image into a texture layer and a tone layer so color correction doesn't flatten the weave underneath it. Straightening hem lines or correcting a minor silhouette issue calls for careful, light use of tools like Liquify, since over-correcting reads as artificial just as easily as under-correcting reads as sloppy.
As of this month, dedicated AI tools built specifically for fabric wrinkle removal are still limited. Aftershoot's comparison of fashion retouching software notes that only a couple of mainstream AI options currently offer this as a purpose-built feature, and most professional retouchers still treat AI as a first pass rather than the final polish on a hero image. Self-serve editing tools can handle the repeatable parts of this well: dust removal, basic color balancing, minor cleanup. Where they tend to struggle is exactly where flat lay work gets hard, preserving fabric texture and holding color and shape consistent across hundreds of SKUs shot on different days, under slightly different light, by different people.
That's less a software problem than a workflow problem, and it's where a lot of otherwise well-shot flat lay catalogs start to look inconsistent once they scale past a single session.
Where a Retouching Partner Keeps Flat Lay Consistent at Scale
Everything up to this point is a styling and shooting problem. Once a catalog grows past a couple hundred SKUs, the harder problem shows up in post-production: keeping fold, fabric texture, and color identical across images shot over weeks or months, by different photographers, under lighting that drifts slightly session to session.
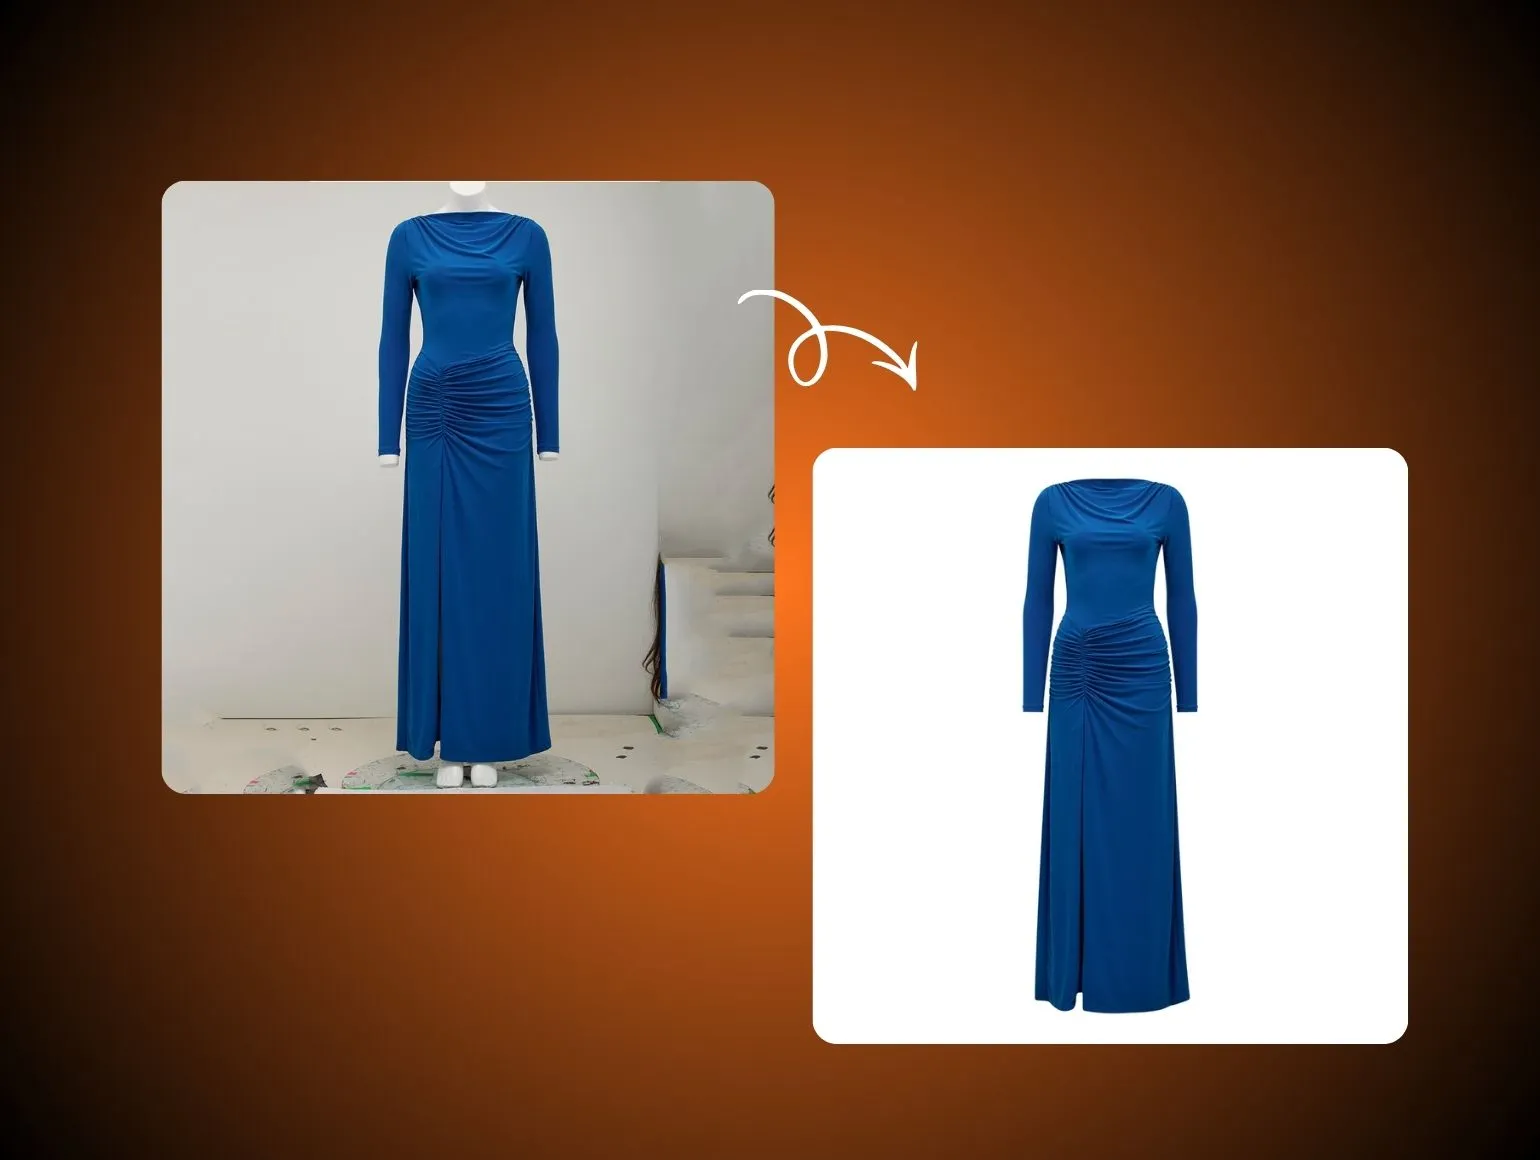
That's a retouching problem, not a styling one, and it's the specific gap our team at Pixofix works in. We define a brand's color, crop, shadow, and cleanup standards before a single image is touched, then apply those rules across the batch with two layers of manual QA, technical accuracy and brand alignment, so image four hundred matches image one. When Chewy needed a large batch of pet product images prepped, including toys, beds, and feeders, edited consistently, our team handled the cleanup, color consistency, and texture correction across the full set.
If fabric texture and wrinkle control specifically are where your catalog is losing consistency, I go deeper on that in ecommerce fabric retouching. For the production math behind keeping thousands of SKUs on the same visual standard, see batch retouching at scale. And if you're evaluating whether to bring this in-house or outsource it, our photo retouching service page covers turnaround and how the workflow holds up at volume.
Conclusion
A flat lay shoot that's well-styled, evenly lit, and shot with a consistent angle gets you most of the way to a usable catalog image. What decides whether that catalog still looks unified at SKU four hundred is the post-production discipline behind it, not the shoot itself.



.png)
.png)
